
The Escape Room Sealed Castle Cursed Cottage map traps you inside a haunted cabin surrounded by an overgrown cemetery. Escaping requires finding hidden tools, deciphering height-based anagrams, and setting matching pumpkin expressions across the graveyard.
Every puzzle in this map follows a fixed sequence, so you can complete each task in direct order without randomized codes getting in the way. Follow this walkthrough to collect every key item and open the exit gates.
Escape Room Sealed Castle Cursed Cottage Walkthrough
Cursed Cottage Quick Reference Guide
| Step / Location | Clue Source | Solution | Reward / Unlocked Area |
|---|---|---|---|
| Plate Cabinet (Living Room) | Lower cabinet doors | Open bottom compartment | Pincers |
| Wall Safe (Living Room) | Ceiling party banner | Code: 54 (Orange: 5, Blue: 4) | Bedroom Key |
| Letter Lock (Bedroom) | Fireplace chart & hallway candles | Anagram: HAUNT | Bookshelf Secret Door |
| Stone Coffin (Graveyard) | Gate silhouettes & path gravestone | Skull / Ghost / Bat combination | Cat Figurine |
| Dresser Dials (Bedroom) | Colored spiderwebs around grounds | Red: South, Purple: West, Yellow: Northwest | Broom |
| Leaf Pile (Graveyard) | Autumn leaves on walkway | Sweep path with Broom | Sarcophagus Tombstone Map |
| Pumpkin Faces (Graveyard) | Hidden face markings in cottage | Match facial expressions to symbols | Cemetery Exit Gates |
Phase 1: Retrieve the Pincers and Unlock the Wall Safe
Your escape begins inside the ground-floor living room and kitchen area. Walk past the white staircase toward the large dark cabinet holding six plates with orange centers.
Open the bottom cabinet doors directly beneath the plate display. The notification “The compartment has been unlocked!” appears, revealing the Pincers inside.
Interact with the tool to trigger the on-screen prompt “Obtained Pincers!” and add them to your hotbar. Turn around and approach the wooden wall safe mounted directly to the right of the framed “HAPPY HALLOWEEN!” poster.
Equip your Pincers and click the metal nail securing the box shut. You will see the prompt “You pulled out the nail!”, which exposes a two-digit lock featuring an orange square and a blue square.
The numbers correspond to the colored letters on the triangular party banner hanging across the ceiling. Click the orange square until it displays 5, then click the blue square until it shows 4.
Entering 54 triggers “The box has been unlocked!” and reveals a brass key. Pick it up to trigger the notification “Obtained the bedroom key!”.
Phase 2: Solve the Candle Anagram and Open the Bookshelf
Walk up the stairs to the second-floor landing and face the locked wooden door. Click the keyhole with your bedroom key equipped to trigger “Unlocked the door.”
Inside the bedroom, you will see a wall panel above the bed with five letter tumblers showing “A A A A A” beneath five carved candles. Leave the bedroom for a moment and return down to the ground-floor fireplace.
Inspect the paper mat lying on the floor directly in front of the hearth. It displays a bar graph with five vertical stripes of varying heights labeled N, A, U, T, and H.
Head back to the upstairs hallway landing and check the shelf beside the bedroom entrance. Five candles stand in a row, arranged from shortest (height 1) to tallest (height 5).
Reordering the letters from the fireplace chart by their ascending candle heights spells the word HAUNT:
- Height 1 (Shortest): H
- Height 2: A
- Height 3: U
- Height 4: N
- Height 5 (Tallest): T
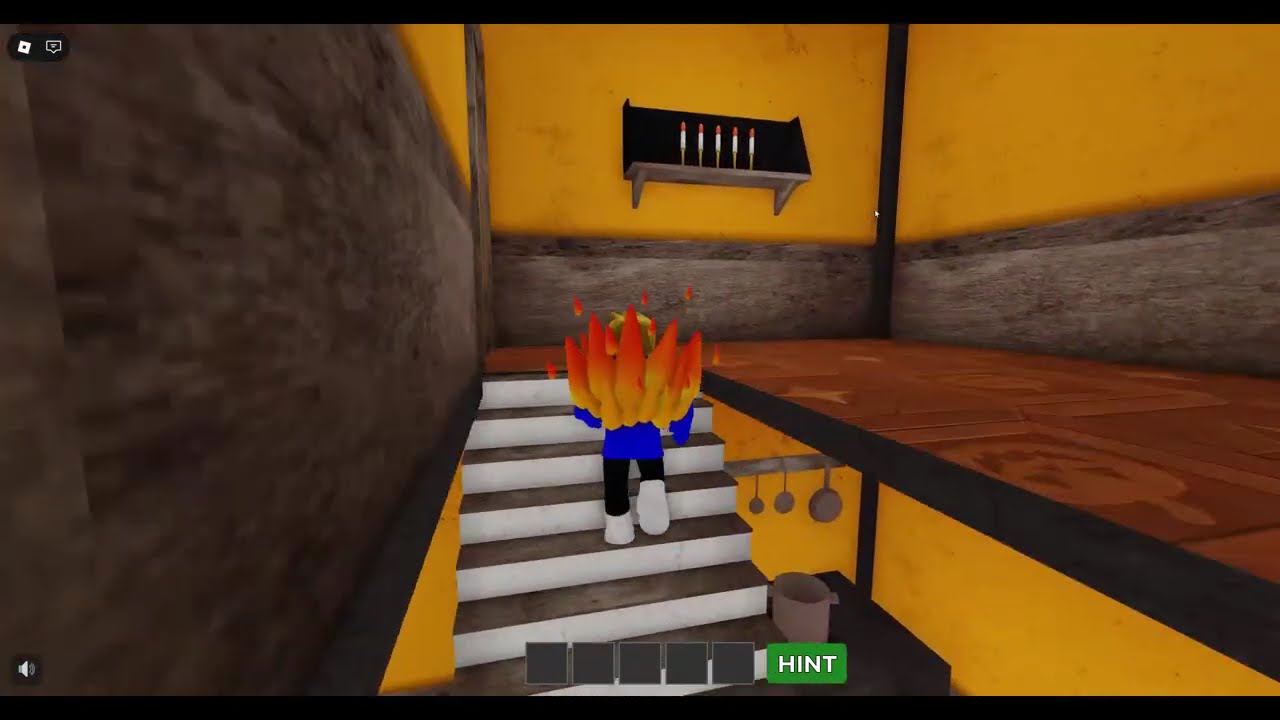
The bedroom wall tumbler puzzle fully configured with the letters spelling HAUNT.
Cycle each letter slot in the bedroom until the lock reads H – A – U – N – T. The prompt “The bookshelf has moved.” confirms the solution, causing the downstairs bookcase to slide aside and reveal a secret passage to the graveyard.
Phase 3: Plunder the Coffin and Find the Cat Figurine
Step through the open doorway behind the bookshelf to enter the fenced cemetery courtyard. Follow the central cobblestone path past the gravestones toward the large iron gates at the far end.
Check the clue tablet carved on the side of the stone tombstone along the path. It shows a sequence starting with a skull and pointing forward across multiple steps.
Inspect the lower rail of the cemetery gate to view the repeating row of cutout silhouettes. Following the gravestone path directions across the fence icons reveals the sequence: Skull, Ghost, Bat, Ghost, Skull, Ghost, Bat.
Walk over to the sealed stone sarcophagus on the right side of the yard and enter the symbol sequence. The heavy lid slides back, allowing you to pick up the Cat Figurine resting inside.
Run toward the foundation of the house beneath the wooden porch crawlspace. Locate the empty stone pedestal by the corner spiderweb and interact with it to trigger “A cat figurine has been placed.”
Phase 4: Align the Dresser Knobs and Sweep the Walkway
Placing the figurine illuminates directional color bars on spiderwebs scattered around the property. You must track the direction each colored web strand points:
- The Red web behind the house points directly South (down).
- The Purple web along the porch foundation points West (left).
- The Yellow web on the corner graveyard tombstone points Northwest (up-left).
The four circular knobs on top of the bedroom dresser adjusted to face their respective compass directions.
Go back upstairs to the bedroom and approach the black four-drawer dresser beside the bed. Turn the Red dial to face South, the Purple dial to face West, and the Yellow dial to face Northwest.
The notification “The compartment has been unlocked!” pops up as the bottom drawer slides open. Click inside to trigger “Obtained Broom!” and store the sweeping tool in your inventory.
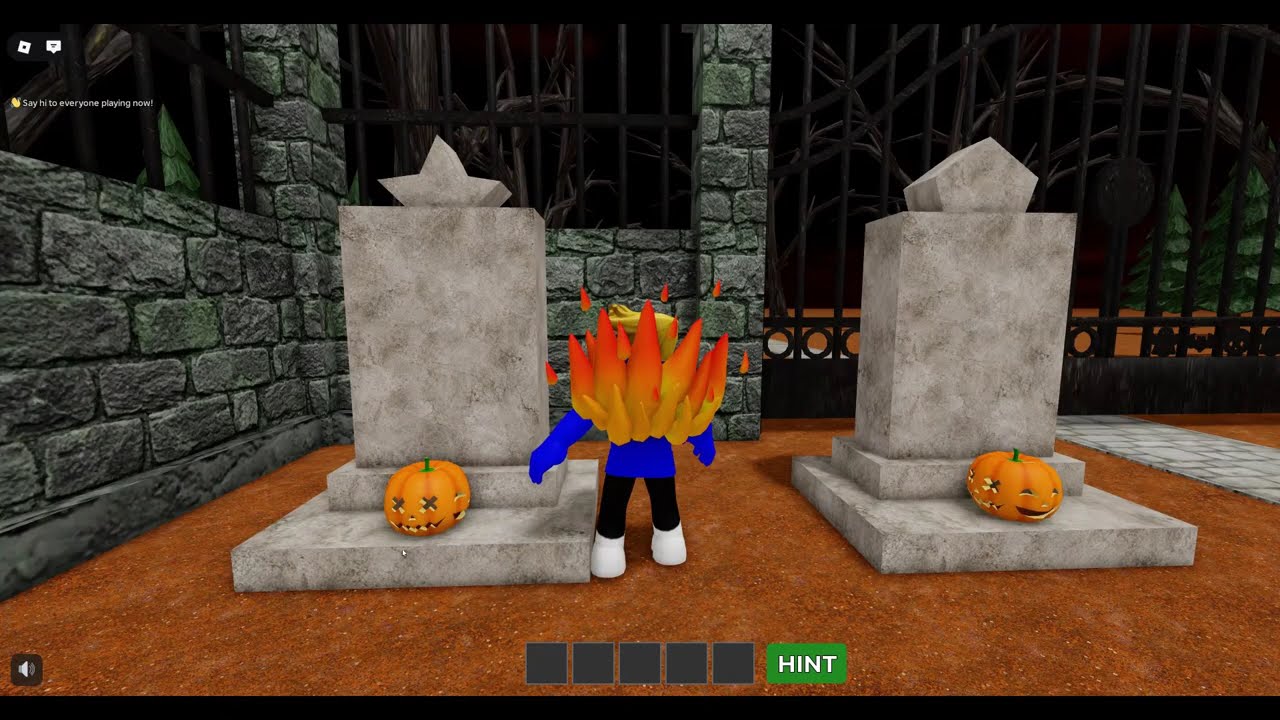
Sweeping away the pile of fallen autumn leaves on the stone graveyard path using the Broom.
Return to the graveyard and equip the Broom. Click the large pile of red autumn leaves blocking the walkway to clear them, displaying the prompt “You swept away the fallen leaves.”
Phase 5: Match the Pumpkin Faces and Escape
Clearing the leaves reveals a diagram on top of the stone coffin slab and spawns uncarved pumpkins beside the tombstones. Interacting with the slab shows the prompt “Something seems to have changed…”, displaying a grid map that pairs headstone peak shapes with facial expressions.
Search the house and grounds to find the four hidden facial expressions:
- Smiling face: Stitched onto the white pillow on the upstairs bed.
- Sad / frowning face: Painted on a porcelain mask sitting inside a pot in the kitchen sink.
- Angry / jagged pumpkin face: Displayed on a white plaque attached to the side of the brick fireplace.
- Skull / dead face (X eyes): Carved on a stone block near the base of the outdoor porch steps.
Head into the cemetery and click each pumpkin to rotate its carved face until it matches the diagram on the coffin slab. Once the final pumpkin displays the correct expression, the message “The door opened.” appears and the cemetery gates swing outward.
Run straight through the open gates and follow the paved road into the dark woods. The yellow banner “ESCAPE SUCCESS!” flashes on screen, awarding you the official “Escape Sealed Castle (Cursed Cottage)” completion badge.