
Securing the Boo & Bub Badge in Roblox The Hollow requires traveling to Floor 4 and recovering the Fourth Relic from a trap-filled puzzle chamber. You must solve an illuminated floor path while dodging laser hazards, claim the key relic, and safely return to the elevator.
The run tests your pathfinding and timing as you make your escape through darkened corridors. Surviving the round unlocks the fourth puzzle reward and brings you one step closer to solving the mystery of the hotel.
How to get Boo & Bub Badge (Fourth Relic) in The Hollow
Before leaving the lobby, enter the main elevator and inspect the control panel beside the doorway. Press the lit green button labeled 4 to travel up to Floor 4.
Once the doors slide open, you will face an introductory “HOW TO PLAY” instruction board positioned along the velvet ropes. The rules outline a four-step mission: enter the maze to locate the puzzle room, complete the puzzle to claim the relic, bring the relic back while avoiding the entity, and return safely to claim your reward.
Traversing the Floor 4 Maze
Turn right past the display board into the curved, red-carpeted corridors of Floor 4. Press the hotbar key to equip your Flashlight, keeping an eye on the battery duration indicator on your screen.
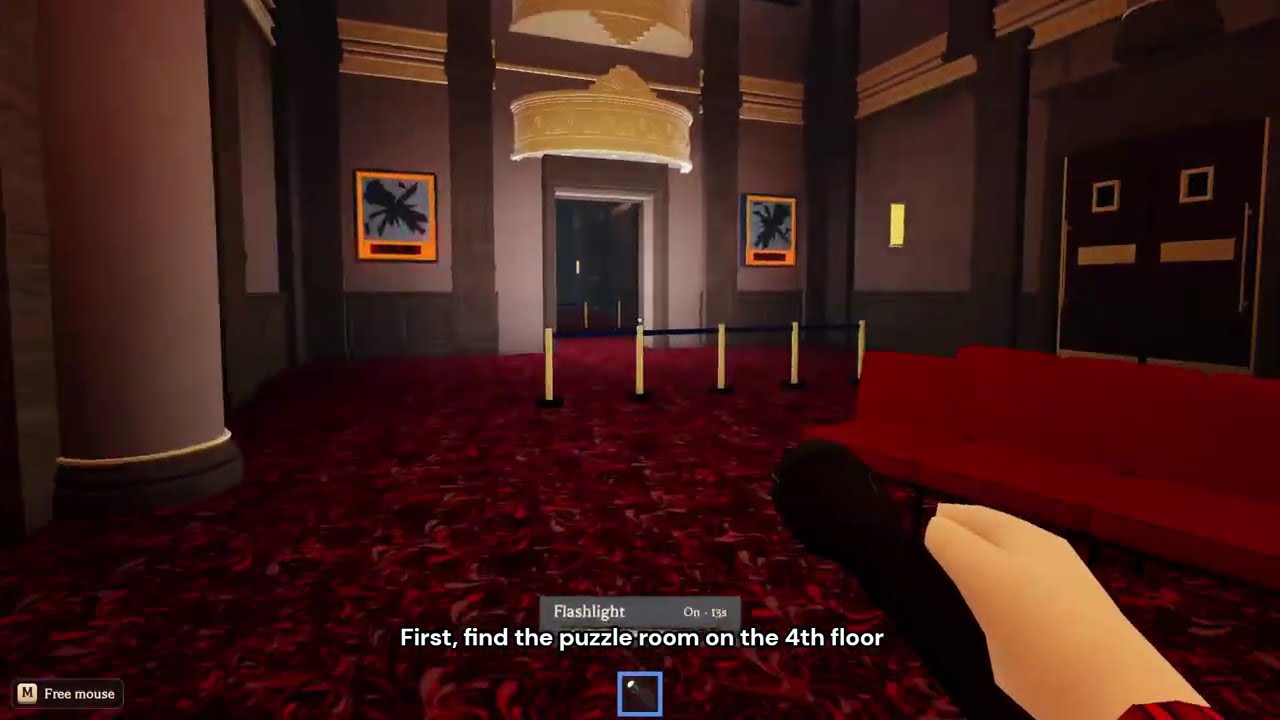
First-person perspective holding a flashlight inside the red-carpeted corridors
Look for distinct visual landmarks along the path, including gold chandeliers, red cushioned benches, knocked-over trash cans, and black silhouette wall paintings with glowing orange borders. Follow the arched entryways deeper into the floor until you spot blue queue stanchions guarding a stone archway leading out of the hotel aesthetic.
Solving the Laser Tile Puzzle
Step through the stone archway into an ancient medieval-style chamber fitted with braziers and hanging banners. An entity nametag labeled “ANGEL” stands across an open pit filled with a stone grid and sweeping horizontal red laser beams.
Wait on the starting stone ledge until a green illuminated tile flashes on the floor grid. Step firmly onto the glowing tile, which acts as the safe route across the gap.
Moving lasers cycle continuously above specific rows, so hold your position on valid green tiles until dangerous beams pass overhead. Keep following each newly revealed green square toward the far right corner of the room.
Claiming the Fourth Relic
Once you step onto the final ledge across the grid, look at the wall directly to the right. A large bronze key relic hovers beside a cluster of glowing pink crystal spires.
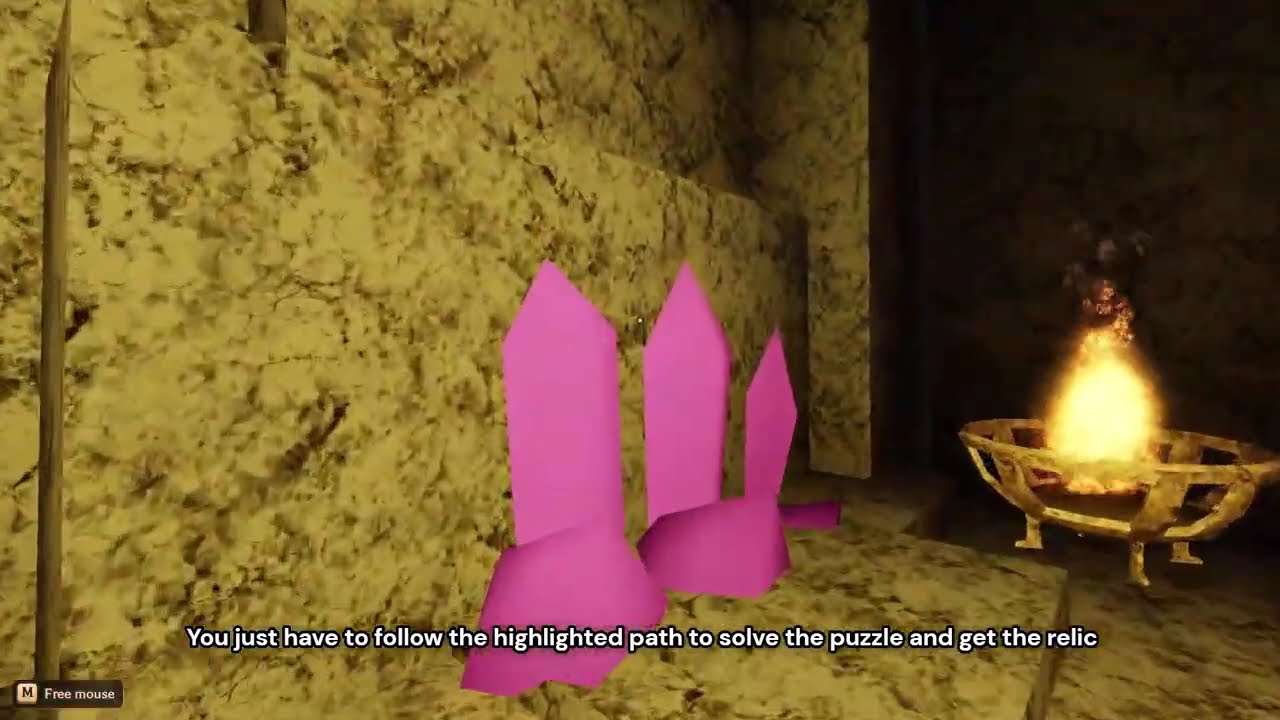
The Fourth Relic key floating near glowing pink crystals on the wall
Interact with the key to pick it up and equip it in your hand. An on-screen dialogue banner appears stating, “Lovely! That’s another one safely in our hands!”
Escaping to the Elevator
Holding the Fourth Relic triggers the escape sequence, turning the hallway lights red and darkening the route. Retrace your steps back through the stone chamber and out into the maze corridors.
Avoid lingering in open rooms, as dangerous entities wander the halls once the relic is disturbed. Keep moving through the archways until you spot the golden lights and velvet ropes of the starting elevator vestibule.
Step directly inside the elevator cab to trigger the closing doors and secure your safe escape. A dialogue prompt confirms your arrival with, “There we are. Still works! …Of course it does.”
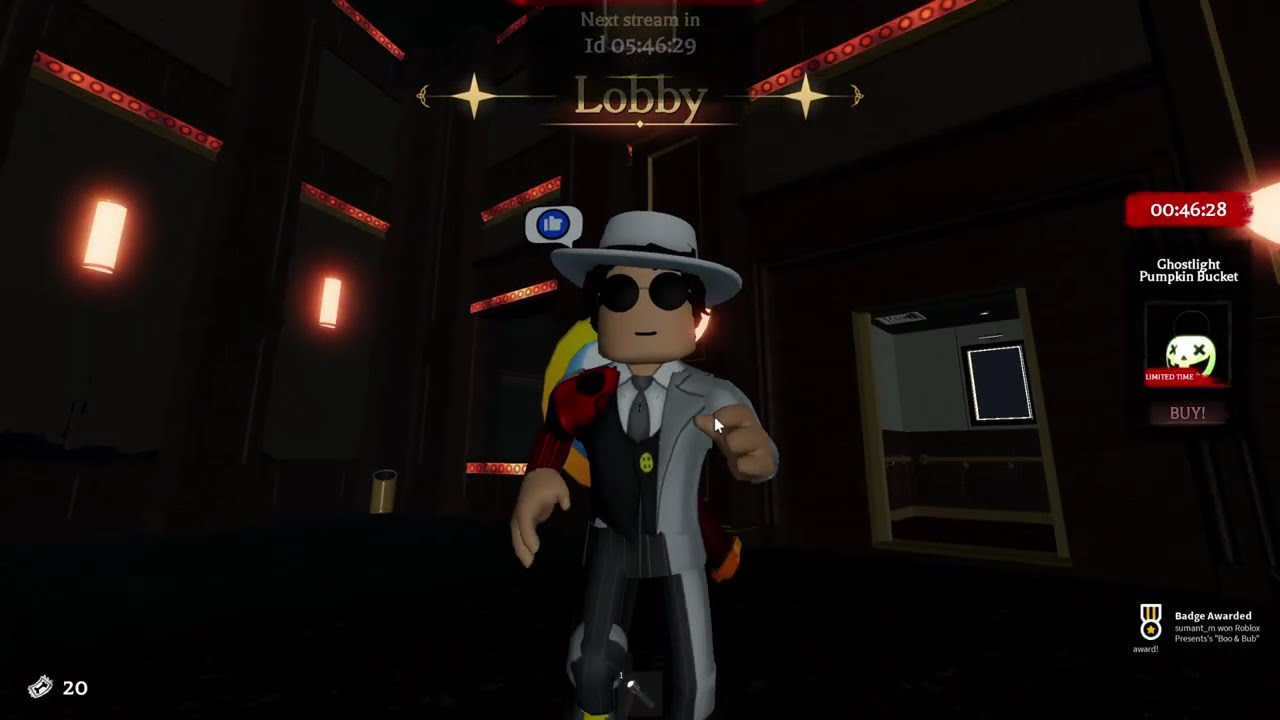
Elevator doors closing with the top banner displaying Boo & Bub puzzle reward
After you return to the main lobby, the game awards the Boo & Bub Badge alongside the Boo & Bub puzzle reward. Additional dialogue celebrates your progress with, “Four relics- And four little thank-yous. You’re doing marvelously.”
