
The Animal Daycare Anomaly Basement update expands your caretaker duties with an underground research facility, high-tech tools, and dangerous corrupted visitors. You can now access the facility elevator, unlock quarantine zones, and craft specialized gear to reverse infections affecting the children.
Reaching the basement requires repairing the facility’s electrical grid and spending your shift earnings to clear security locks. Once downstairs, you will balance daycare check-ins with chemical calibration puzzles, crafting benches, and surprise monster ambushes.
Animal Daycare Anomaly Basement Guide – Location, task
Fixing the Breaker and Unlocking the Elevator
Your journey into the underground wing begins inside the main Daycare room during your regular shift. An electrician named Sparky arrives at the front desk offering assistance, but he accidentally shocks himself on the wall panel and flees the premises.
Walk over to the sparking red electrical box beside the kitchen dining tables and press the interaction prompt to open the maintenance panel. Connect the matching colored wires across the terminal by dragging each line directly from left to right until the meter reaches 100%.
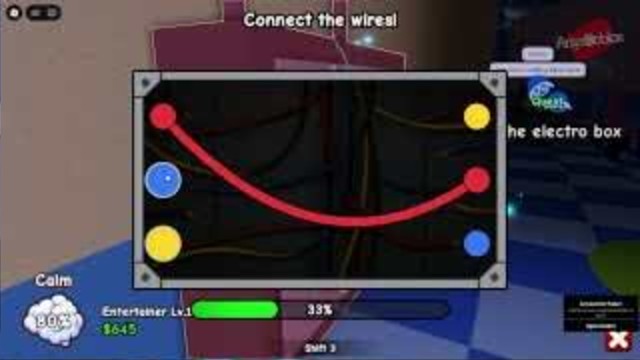
player connecting the red, blue, and yellow wires inside the open electrical panel
Completing the wiring rewards you with $15 and displays a green notification confirming the elevator doors are functional. Step inside the elevator cab, hit the green button labeled “Basement,” and ride the lift downward into the dark corridor.
Walk into the unlit Main Hall and locate the yellow power switch mounted directly to the left wall beside the breaker sign. Flip the lever upward to restore overhead fluorescent lighting across the office desks and terminal monitors.
Unlocking the Lab Room and Equipping the Net Launcher
The central blue monitor shows that daycare licensing has been suspended, locking the heavy security blast doors. To reopen the containment wing, walk up to the terminal beside the barred Lab Room entryway and pay the $500 clearance fee.
Walk through the opened security shutter and flip the secondary light switch located on the right wall. The lab features four numbered containment capsules along with a central pedestal displaying the Net Launcher V0.4 prototype.
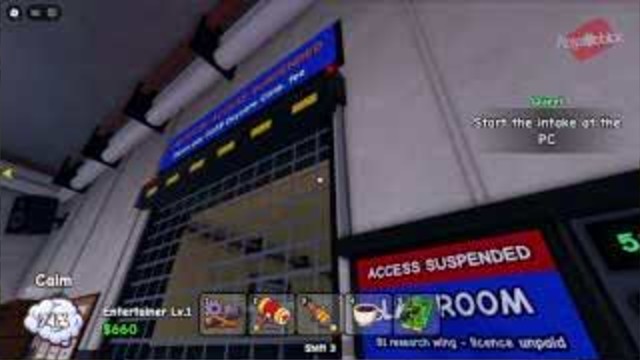
player interacting with the payment terminal to purchase access to the Lab Room
Before picking up the launcher, ensure your hotbar has at least one open inventory slot. If your pockets are clogged with toys or mugs, drink any remaining coffee from your inventory to free up room before claiming the gun from the platform.
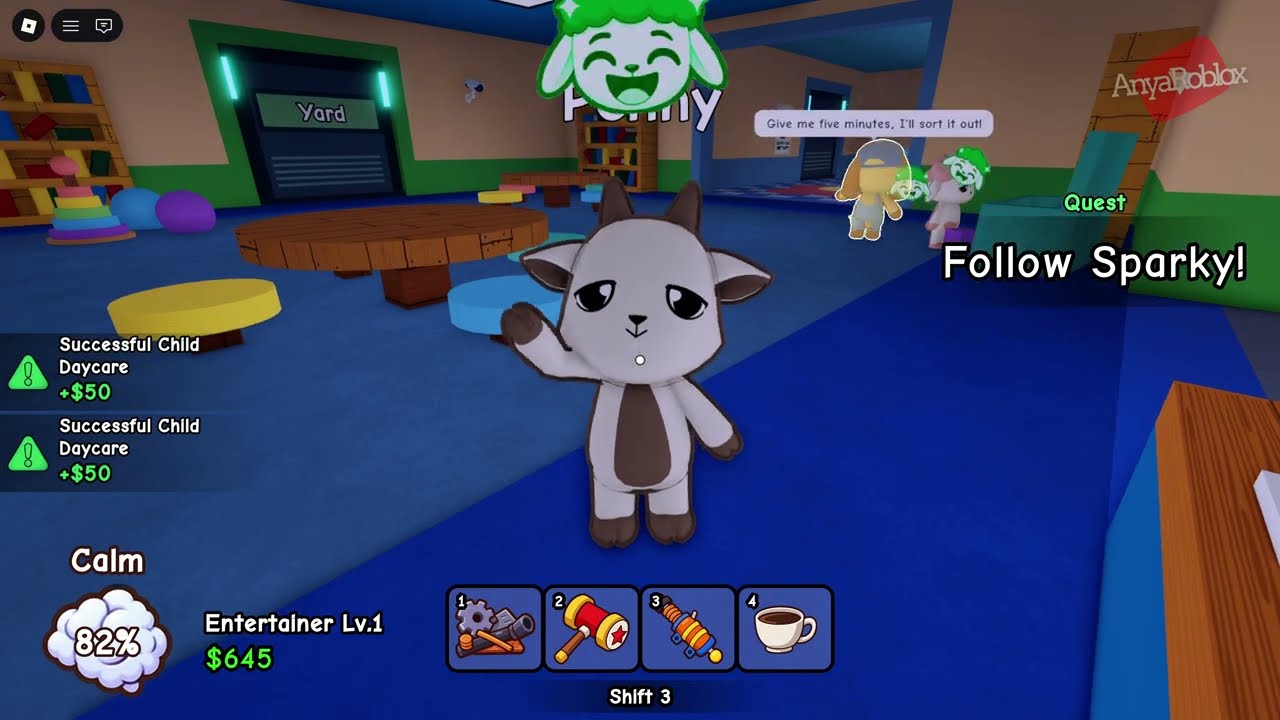
the Net Launcher weapon resting on the raised circular pedestal inside the lab
Capturing Corrupted Kids and Synthesizing Cures
Take the elevator back up to the daycare floor and interact with the front desk computer to process waiting visitors. Watch out for suspicious arrivals carrying creepy child drawings, as infected impostors can quickly turn violent in the playroom.
When an infected child transforms into a sharp-toothed purple anomaly, equip your Net Launcher and fire directly at the creature. The launcher deploys an energy cage around the target, allowing you to pick up the captured anomaly and carry it down the elevator.
Take the trapped beast into the Lab Room and interact with Cell 04 to lock it inside the blue containment chamber. Head to the attached control computer and press the button to start the research diagnostics sequence.
When the screen flashes an “ACTION REQUIRED!” alert, interact with the console to launch the slider calibration minigame. Drag the Sedative, Temperature, Pressure, and Ink sliders up or down until they rest inside each outlined target box and turn solid green.
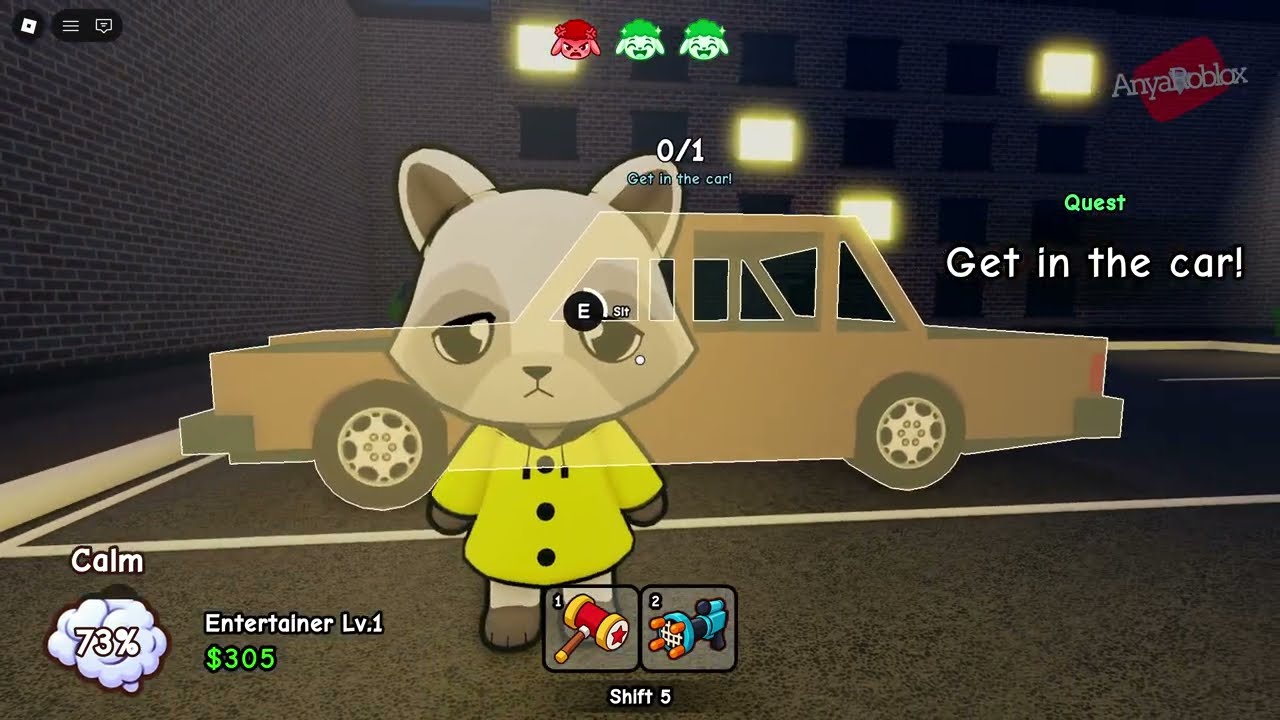
the slider adjustment screen showing sedative, temp, pressure, and ink parameters
Periodic pressure spikes will prompt a secondary “PRESSURIZE” minigame on screen. Rapidly alternate pressing the A and D keys to fill the center gauge to 100% before the timer runs out. Once the analysis reaches full completion, grab the red Sharp Teeth’s Cure tube from the console screen.
| Task | Location | Required Items | Practical Outcome |
|---|---|---|---|
| Restore Power | Basement Main Hall | None | Restores basement visibility |
| Unlock Lab Room | Basement Corridor | $500 Daycare Fee | Grants access to cells and Net Launcher |
| Contain Monster | Lab Room Cell 04 | Captured Anomaly | Initiates cure research sequence |
| Unlock Workshop | Basement Main Hall | $500 Daycare Fee | Grants access to crafting workstations |
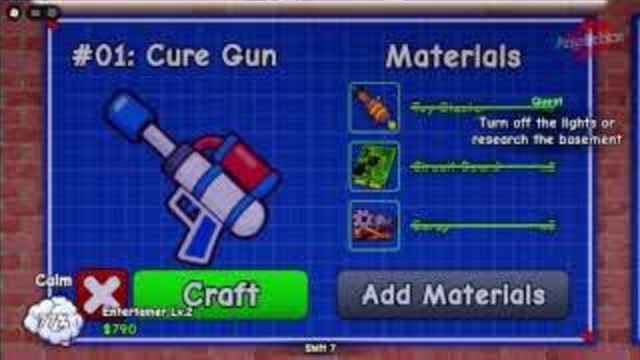
| Craft Cure Gun | Workshop Station 04 | 1 Toy Blaster, 2 Circuit Boards, 5 Scrap | Creates firearm capable of administering cure vials |
Unlocking the Workshop and Crafting Key Gear
Return to the basement Main Hall and approach the rolling metal shutter leading into the Workshop. Pay the $500 terminal charge to open the gate, head inside, and throw the room’s wall breaker to activate the craft benches.
Workstation 04 holds the blueprint for the Cure Gun, which requires one Toy Blaster, two Circuit Boards, and five Scrap metal parts. Press the craft prompt to trigger the assembly puzzle, where you must guide a red circuit trace from the yellow node to the green node without touching borders.
Tighten the four casing screws by clicking each bolt clockwise until the panel fastens shut. Grab the completed Cure Gun from the table, keeping in mind that the weapon features an active three-minute lifespan timer once constructed.
guiding the red trace line across the green circuit board at Workstation 04
Take your fresh Cure Gun back to the Lab Room’s Cell 04 station and press the interaction key on the console. This loads the Sharp Teeth’s Cure vial directly into your gun chamber, making it ready for live field use.
Reversing Infections and Neutralizing Intruders
With your loaded Cure Gun in hand, head outside toward the fenced playground yard whenever sirens indicate an intruder sighting. Aim straight at the charging monster through the gate and fire your cure round to neutralize the threat instantly.
The impact purges the anomaly, restoring the monster into an innocent white rabbit kid while awarding you $75 for a successful cure. You can use remaining loaded shots inside the building whenever playhouse children mutate into secondary beasts.
Coffee Repairs, Vent Hazards, and Secret Encounters
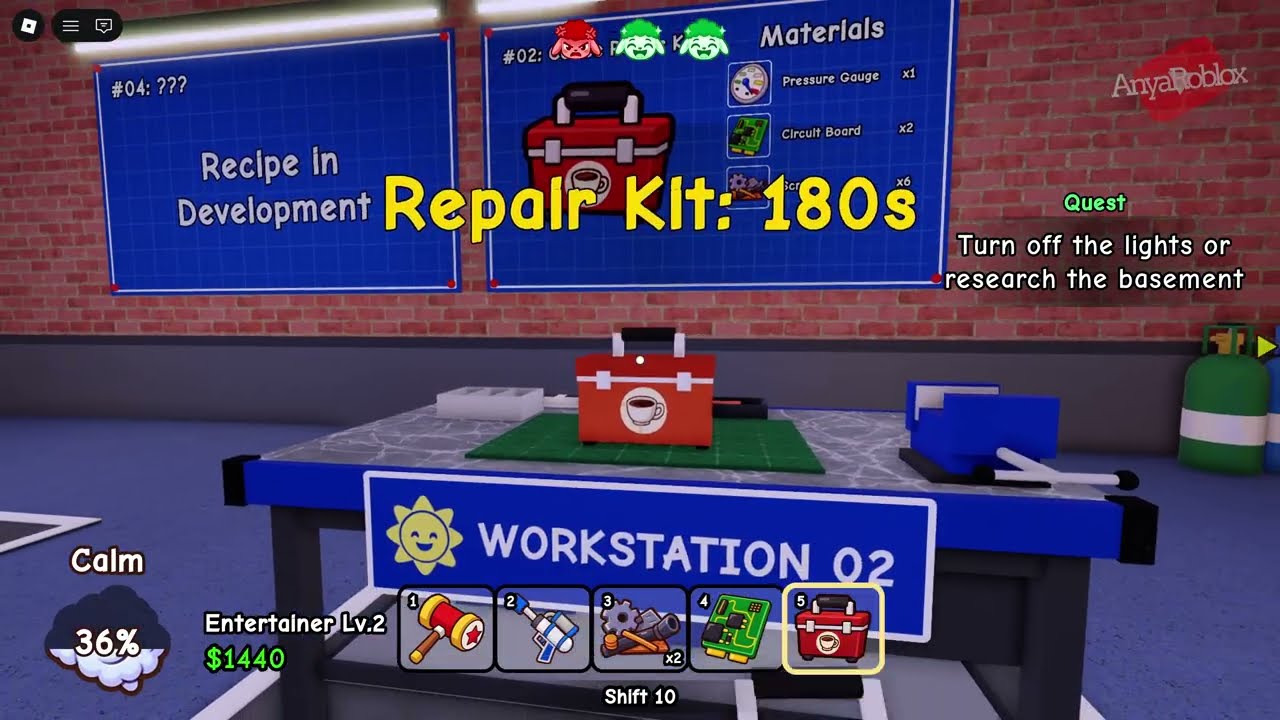
Managing your character’s stress level is vital because reaching zero calm triggers an immediate game over. You can build a Coffee Repair Kit at Workshop Station 02 using one Pressure Gauge, two Circuit Boards, and six Scrap pieces to restore the basement coffee maker.
Interact with the repaired espresso maker to brew fresh cups that restore your calm meter by 5% with each sip. Keep a spare mug ready in your inventory, especially when night-shift shadows appear in the hallways to sap your sanity.
When a black shadowy tendril erupts from the wall vents to pull you toward the shaft, do not panic. Quickly click all appearing green hand icons on your screen to fill the escape bar to 100% and break free from the creature’s grip.
During grocery errands outside with Rocco, detour behind the parked brown car to check the open green dumpsters against the brick wall. Inspecting the container reveals Loopy the sheep hiding inside, unlocking unique backstory dialogue about their missing child Loomy.
Loopy the sheep speaking from inside the dark green alleyway dumpster
If you ever get snatched into the dark dimension by the tall hallway stalker, keep moving forward through the winding purple cavern pathways. Reaching the glowing white archway at the end of the stone maze immediately teleports you safely back to the playroom floor.
