
Surviving the night shifts in Aisle of the Locust Chapter 4 requires you to complete escalating shopping quotas across an abandoned toy warehouse while evading a lurking monster known as the Dabadook. Your primary objective across all five days is filling your shopping cart with designated items and wheeling them back into the green Safe Zone before your lives run out.
Every run tests your stealth management, audio cues, and routing through themed aisles ranging from Cuddle Woods to the Grand Rotunda. Surviving the sudden blackouts and spending your earned cash on upgrades between shifts turns an intimidating gauntlet into a manageable routine.
Aisle of the Locust Chapter 4 Walkthrough Guide – All Days
Core Mechanics and Monster Rules
Success depends on monitoring your noise levels and maintaining line-of-sight awareness across the grid-like warehouse floor. Running with your shopping cart creates loud mechanical rattling that instantly draws the Dabadook toward your position.
When the monster hunts, you will hear distorted groans and heavy footsteps approaching. Crouch-walking by holding Ctrl muffles your movement, while breaking line of sight around tall retail shelves forces the creature to inspect your last known sound rather than your current spot.
| Mechanic | In-Game Trigger | Practical Effect | Survival Response |
|---|---|---|---|
| Cart Noise | Sprinting or crashing into obstacles | Alerts the Dabadook across aisles | Let go of sprint; crouch behind display shelves |
| Blackout Event | Scripted mid-day power failure | Overhead lights cut out completely | Rely on light beams, flashlights, or peppers |
| Safe Zone Cash-In | Entering the green extraction square | Starts a 10-second countdown | Remain entirely within the boundary lines |
| Lost Lives | Caught by the Dabadook | Consumes 1 of your allocated team lives | Respawn at the entrance Safe Zone |
Day 1: Filling the 8-Toy Order
Day 1 starts you with 5 lives and an 8-toy quota to complete within a 3-day buffer window. The warehouse remains well-lit during this initial shift, allowing you to learn the general floor layout and locate major sector signs like Games & Puzzles, Toy of the Year, and Dollhouse Lane.
Roll your cart down the central aisles while watching shelf tags for items like the Humming Top and Tin Rocket. Press your interaction key when hovering over a highlighted toy to drop it directly into your cart basket.
Push the filled cart onto the checkered green Safe Zone pad once your counter hits 8/8. Stay inside the boundaries until the 10-second timer reaches zero to bank your payout.
Between shifts, spend your earnings in the shop terminal. Investing $60 into Second Wind immediately grants +25% Sprint Stamina, which gives you extra breathing room during close encounters.
Day 2: Blackouts and 12 Toys
The quota increases to 12 toys on Day 2, and the facility experiences its first full blackout event midway through your run. Items spread further into peripheral zones like Cuddle Woods, The Little Stage, and Tumble Town.
Head toward the green carpeted area of Cuddle Woods early to clear out loose floor bins containing stuffed animals and wooden toys. Grabbing items like the Tiny Sailboat and Star Bouncy Ball keeps you on pace before visibility drops.
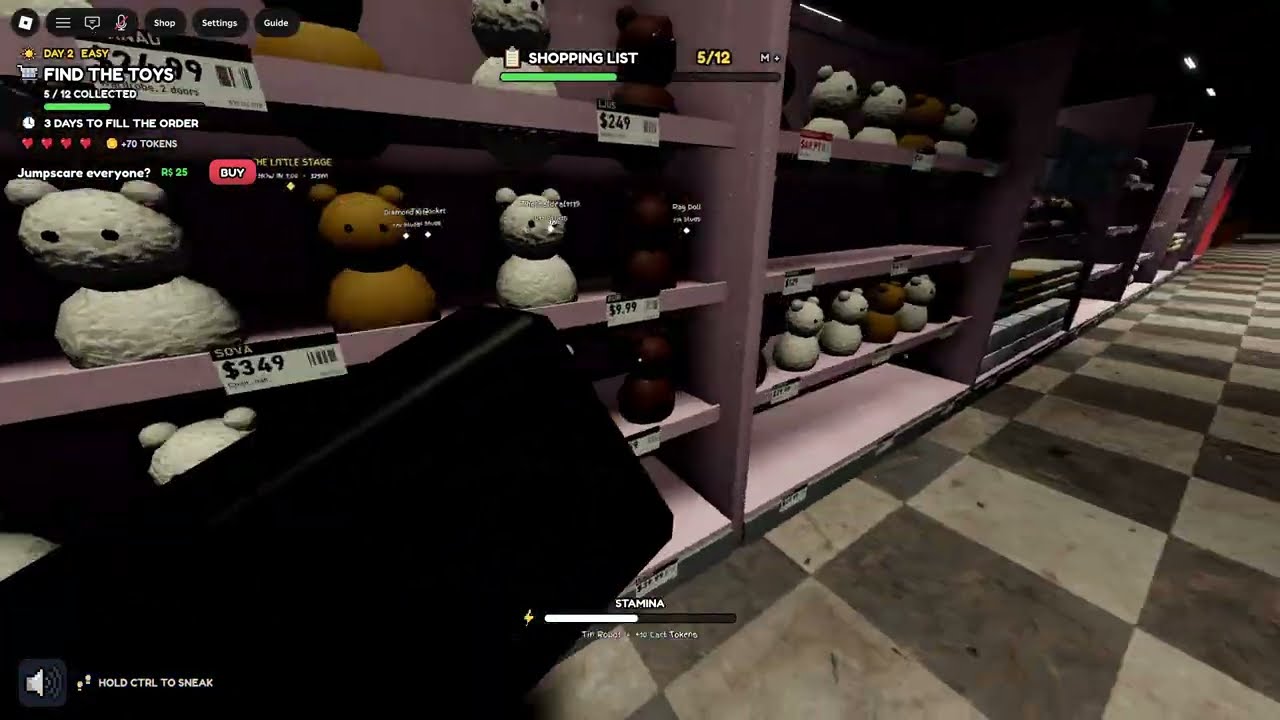
The shopping cart entering Cuddle Woods with bins and trees visible
When the overhead fluorescents snap off, dark shadows envelop the corridors. Keep your cart moving along familiar tile lines and listen carefully for the Dabadook’s raspy breathing.
Return to the green Safe Zone to trigger the cash-out sequence once the 12th toy lands in your basket. In the Day 2 shop, purchase Felt Wheels for $65 to reduce your movement noise by 20%, significantly dampening your cart rattle.
Day 3: Surviving Long-Range Aisle Sweeps
Day 3 raises the order requirement to 16 toys, forcing you to sweep through deep storage aisles and the Grand Rotunda. The Dabadook roams much more aggressively, homing in on any cart that strikes shelf corners.
Pick up delicate targets like the Toy Xylophone, Dapper Rocking Horse, and Box of Marbles from middle-level shelves. Avoid reckless sharp turns, as clipping wooden pallets creates loud crash noises that pinpoint your location.

Purchasing the Spare Uniform upgrade in the Day 3 shop menu
If the monster cuts off your primary corridor, duck into adjoining shelf lanes and wait for his lumbering footsteps to fade before pushing forward. Bank your 16 toys at the extraction zone to complete the shift.
Use your Day 3 earnings to buy the Spare Uniform upgrade for $180, granting an extra life to cushion against late-game mistakes. Pick up a Noisemaker or Petrify Grenade from the items tab if you have leftover cash.
Day 4: Backroom Hallways and the Red Pepper
Day 4 requires collecting 20 toys, pushing your search into concrete maintenance corridors and rear warehouse backrooms. These gray passages feature rolling boulder hazards and giant jack-in-the-box figures tucked behind service doors.
Work through the main showroom first to gather shelf items like the Ring Stacker, Alphabet Blocks, and Play Doll. When you enter the gray concrete tunnels, stay along the outer walls to dodge rolling environmental props.
A second blackout will plunge the warehouse into total darkness as your order count climbs past halfway. Look for a glowing red item on the floor labeled Eat Red Pepper.
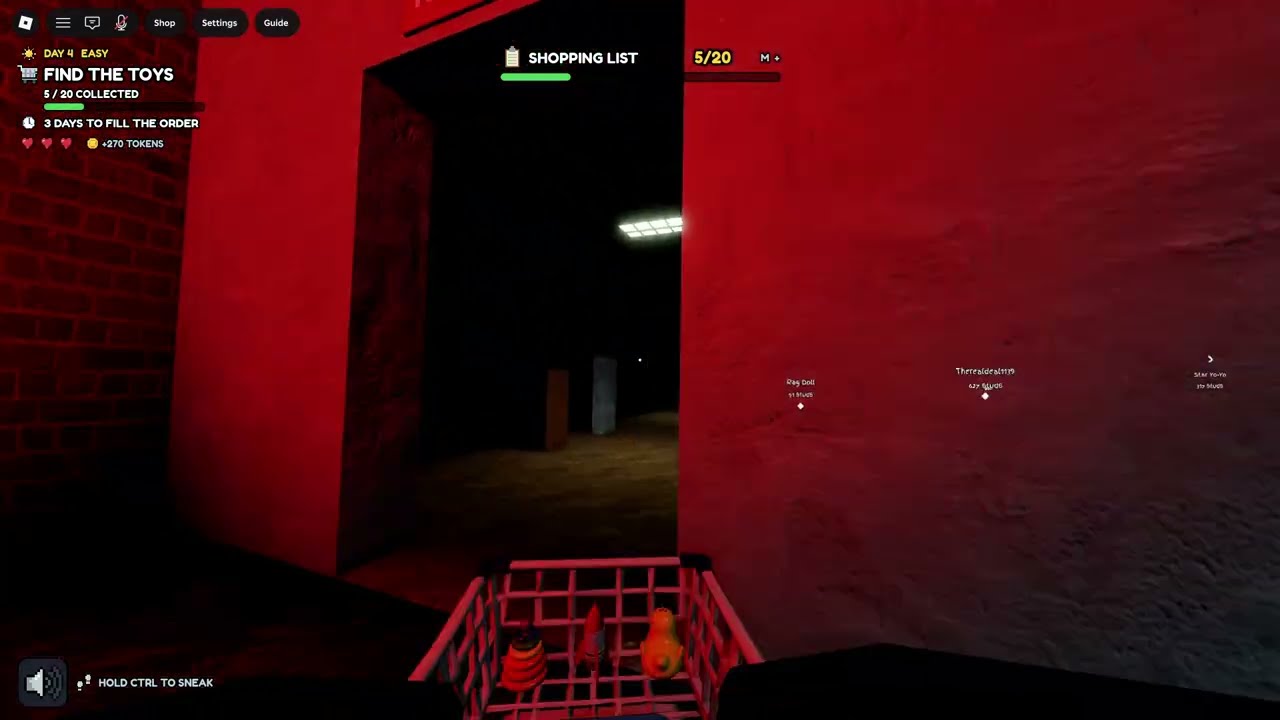
Player character breathing bright fire after consuming the Red Pepper pickup
Consuming the pepper grants Fire Breath and a +40% speed boost for 15 seconds. The jet of flame acts as a mobile headlight, illuminating dark corridors so you can grab items like the Toy Telephone without slowing down.
Finish hauling the remaining toys to the Safe Zone to lock in your payout. In the shop terminal, buy Night Vision ($70) to see through pitch-black corridors and Sixth Sense ($60) to detect the Dabadook’s heartbeat range.
Day 5: Red Balloons and the Grand Rotunda Finale
The final shift sets an extensive quota of 24 toys, accompanied by floating red balloons tethered across the entire store floor. These balloons spawn under a new Codex entry and clutter navigation paths throughout the main showroom.
Sweep through Toys of the Year and Build & Discover for easy floor pickups, including the Parade Drum and Pull-Along Bright. Steer your cart carefully around low-hanging balloon strings to keep your handling smooth.
Head into the Grand Rotunda and push your cart up the curved yellow steps to reach the upper balcony track. This elevated walkway contains multiple rare targets like the Dapper Rocking Horse and Rubber Duck resting on display pedestals.
Drop back down to the main floor to finish off the remaining items on your shopping list, such as the Plush Dino and Humming Top. If the Dabadook ambushes you in a dead-end aisle, throw your Noisemaker into a distant corridor to pull him away.
A final blackout will hit just as you near full capacity. Guide your 24-toy cart into the illuminated green Safe Zone and hold your ground inside the perimeter until the 10-second cash-out timer finishes your run.
