
Completing Roblox Embers Chapter 1 requires you to explore a dark abandoned church, avoid a lethal subterranean entity, and solve several interconnected item puzzles. You will need to gather four specific offerings—a gold ingot, a vase, a necklace, and a cut diamond—to obtain the stone book needed to balance the catacomb scales.
Along the way, you must navigate multi-floor hallways using only a single candle for illumination and use tools like wire cutters, a magnet, and a claw hammer to uncover locked passages. The following guide provides the exact puzzle sequences, item routes, and monster survival tips to help you reach the ending.
Roblox Embers Chapter 1 Walkthrough Guide – Relic Location
Infiltrating the St. Michael Church Grounds
Your journey starts on a rainy road after your driver drops you off in the forest. Your flashlight batteries die immediately upon arrival, forcing you to search the foggy woods in near darkness.
Follow the dirt trail past the abandoned furniture until you find a framed photograph resting on the muddy ground. Inspect the ground nearby to read a newspaper clipping dated October 24th, 1974, detailing the mysterious closure of the St. Michael church following an unexplained fire.
Continue through the clearing until you reach a small illuminated tool shed. Step inside and grab the wire cutters off the shelf.
Carry the wire cutters back toward the perimeter fence surrounding the church graveyard. Interact with the chainlink fence to snip an opening and step onto the holy grounds.
Walk straight up the main path through the cemetery gates and enter the front doors of the church. Place the framed photo onto the central stone altar between the two lit candles.
A cutscene will trigger showing the ground tremble outside. Grab one of the burning candles from the altar so you have a portable light source, then head back out into the graveyard to find that a tomb slab has slid aside to reveal an entrance leading down into the catacombs.
Navigating the Catacombs and Surviving the Monster
Crouch and drop down through the open grave shaft into the underground catacombs. Read the handwritten note left by Arthur on the wall, which mentions four relics that must be placed on podiums: a gold ingot, a diamond, a vase, and a necklace.
The catacombs are patrolled by a deformed, screeching entity with glowing eyes and an elongated maw. The creature can hear running footsteps from a distance and will destroy certain hiding spots if it spots you entering them.
Keep your candle equipped to prevent your visibility from dropping to zero, but manage your stamina carefully. Use the beds and lockers scattered along the hallways whenever you hear stomping footfalls or heavy breathing approaching.
Relic 1: Recovering the Gold Ingot
Search the ground-floor corridors branching off the central hallway to find the main storage areas. Check the side rooms labeled West Wing and Auditorium to map out safe routes between chase sequences.
You will find the Gold Ingot resting in a hallway passage between two connecting archways. Pick it up and store it in your inventory for the ritual chamber.
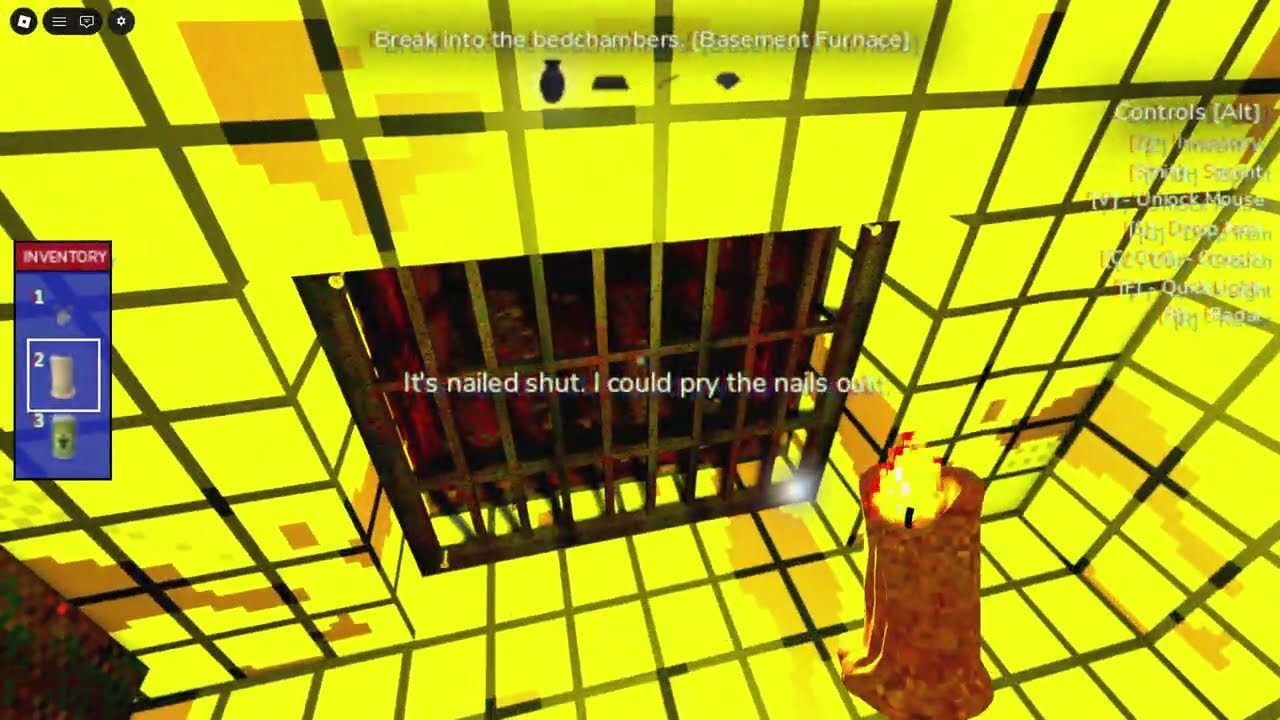
Gold Ingot sitting on the stone floor
Relic 2: Smothering the Basement Furnace for the Vase
Locate the heavy double doors leading toward the Furnace Room in the lower basement levels. Arthur’s notes reveal that an intact vase is trapped inside the roaring flames of the incinerator.
To put out the fire safely, you must collect four bundles of discarded shirts scattered across the nearby bedchambers. Search the metal bed frames, dresser drawers, and side rooms to gather the red, yellow, and green clothing items.
Carry each piece of clothing back to the lit furnace grating and interact with the fire pit to drop them directly into the flames. Once the fourth shirt is thrown in, the flames will extinguish completely.
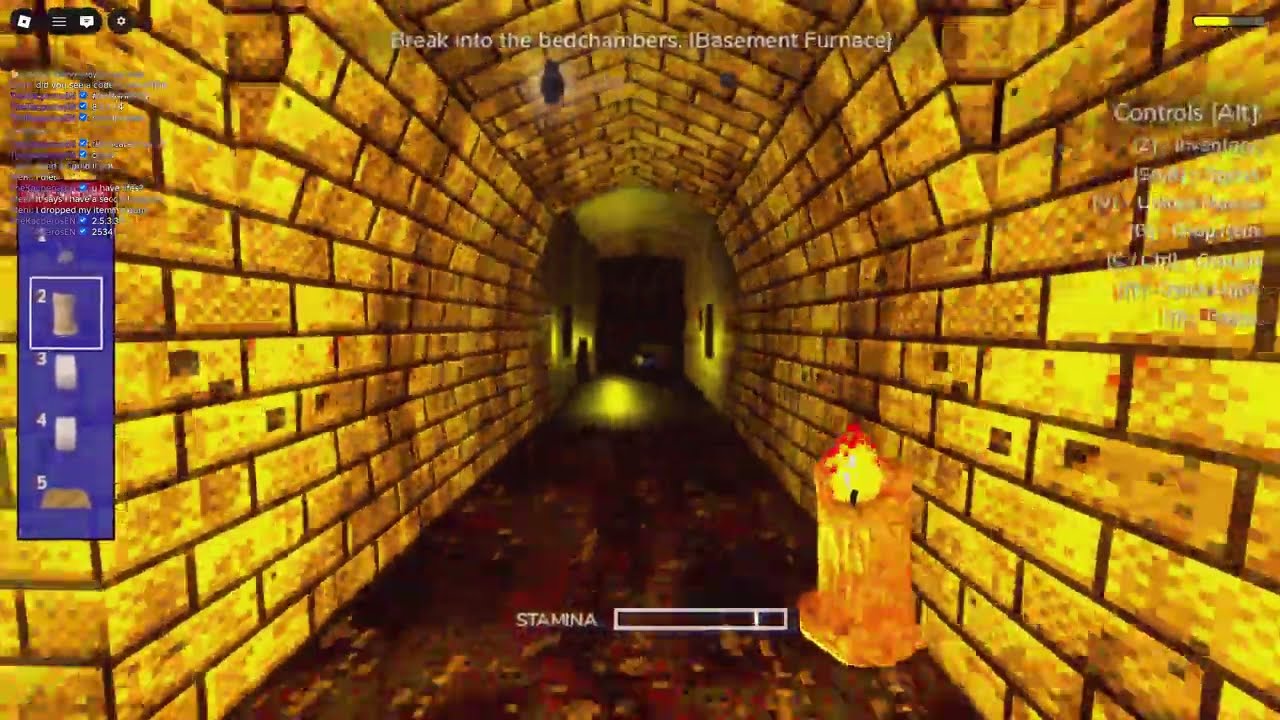
Tossing clothing into the basement furnace fire
Reach into the cooled furnace ash to collect the painted Vase. Drop it off in the ritual room or keep it stored in your inventory while you work on unlocking the vault.
Relic 3: Solving the Auditorium Piano and Bathroom Vent for the Necklace
Head up the stone staircases toward the second floor and locate the Auditorium. Inside, you will find a locked grand piano with numbered plaques placed above and across the keys.
Read the note on the nearby table from Father Gregory addressed to Sister Stella, which states the tuning sequence order: 8 – 6 – 1 – 7 – 4. Press the corresponding piano keys from left to right in this exact numerical order.
Playing the sequence correctly pops open the upper wooden casing of the piano. Take the Vault Key from the exposed wiring compartment.
Return to the basement and follow the wall signs directing you to the heavy metal Vault Door. Unlock it using your new key to access the interior storage room.
Pick up the large red horseshoe Magnet resting on the desk inside the vault. Take the magnet back upstairs to the second-floor bathroom.
Approach the three toilet stalls and interact with the bowls to drag the magnet through the standing water. The third stall will yield a sturdy Claw Hammer that was dropped down the plumbing.
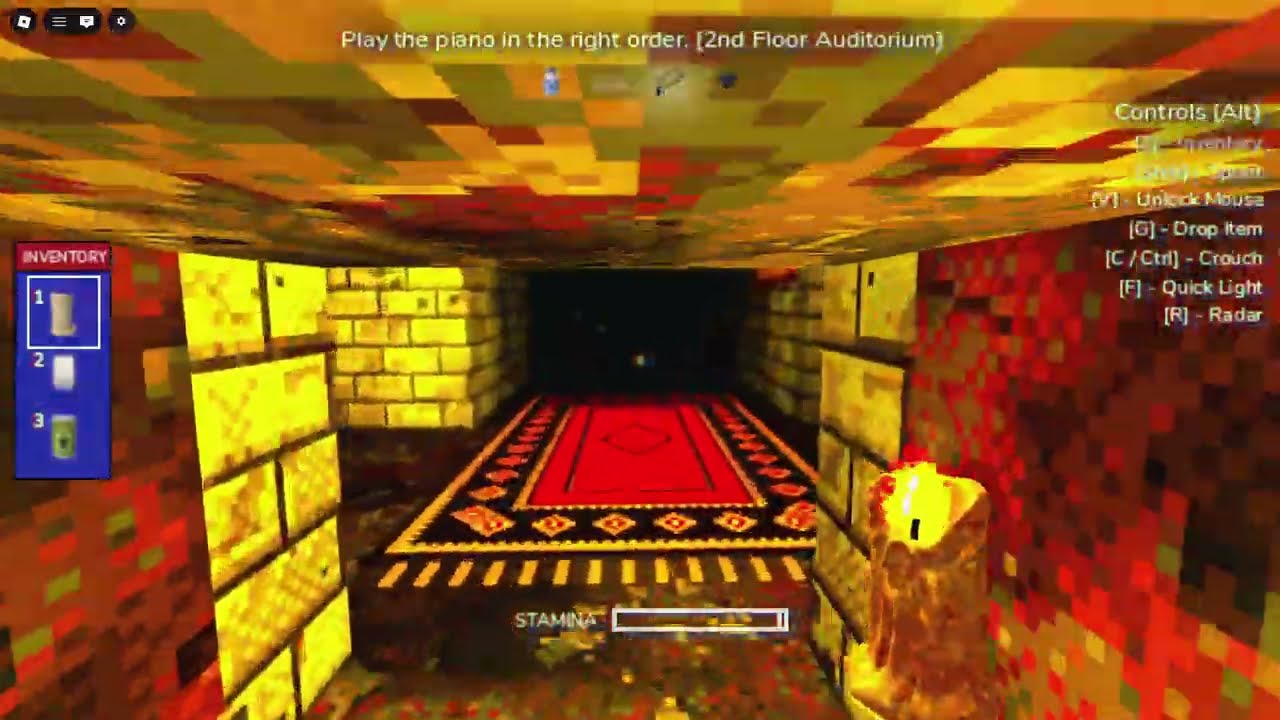
Using the magnet to retrieve the claw hammer from the toilet
Equip the claw hammer and interact with the wooden boards nailed over the low ventilation grate on the bathroom wall. Crawl through the newly opened air duct to access the hidden valve room.
Inspect the pipe configuration on the bathroom wall, noting the heights of the colored wheel valves. In the statue room, locate the loose Circle Valve and Triangle Valve wheels, then place and twist them on the pipes so their positions mirror the layout seen in the bathroom.
Matching the pipe layout unlocks the iron security gate blocking the chained statue in the adjacent corridor. Walk forward and retrieve the golden Necklace from the statue’s hands.
Relic 4: Prying the Hidden Planks for the Diamond
Keep your claw hammer equipped and head back downstairs to the basement hallway leading toward the east wing. Look along the walls for an arched opening that has been boarded up with two thick wooden planks.
Interact with each plank using the hammer to pull out the nails and tear the barrier down. Crouch through the hole into a secret furnished lounge.
Read the final diary note on the floor detailing Arthur’s confession about trapping firefighter Daniel Penny during the 1974 fire. Turn toward the back corridor and pick up the cut Diamond sitting on the pedestal inside the cell.
Placing the Offerings and Balancing the Scales
With all four sacred items secured, return to the main ritual hall containing the four hooded statues and stone pedestals. Each podium has a carved symbol representing the corresponding relic.
Place each item on its designated pedestal:
| Offering | Target Pedestal Symbol | Origin Location |
|---|---|---|
| Gold Ingot | Ingot icon | Ground-floor catacomb corridor |
| Vase | Vase icon | Extinguished basement furnace |
| Necklace | Necklace icon | Second-floor valve statue room |
| Diamond | Diamond icon | Boarded secret lounge cell |
Once the final item rests in place, the central statue will lower its hands and offer you the heavy Stone Book. Take the book into your inventory and make your way to the scale room located in the deep basement.
Interact with the empty side of the hanging brass scale to deposit the Stone Book. The added weight will balance the mechanism, causing the ancient stone doors behind it to swing open.
Step into the blinding white light beyond the threshold to trigger the final cutscene, where you hear the spirit of Dan Penny granting forgiveness. You will unlock the “Forgiven” badge as the camera pans toward the clear sky, completing the chapter.
