
Managing your night shifts in Animal Hospital Anomaly requires fast reflexes when dealing with aggressive entity encounters and complex patient arrivals. Between roaming hallway threats and double-character emergency check-ins, you must balance reception desk duties against life-or-death treatment timers.
Succeeding in later shifts means knowing how to break free from snare attacks and correctly treating critical cases across regular hospital wards and specialized operating theaters. Keeping your sanity high and job stress low depends directly on executing each medical step without hesitation.
Animal Hospital Anomaly Spider and Duo Emergency Guide
Surviving shifts like Shift 8 and Shift 9 tests your ability to spot unusual activity in the lobby while running back and forth to patient rooms. Recognizing each event type as soon as it spawns allows you to grab supplies in advance and avoid getting caught off-guard in the hallways.
Surviving the Spider Anomaly and Ceiling Snare
The Spider Anomaly introduces an ambush threat that patrols the hospital corridors before climbing above you. It often starts near the reception counter, leaving slime residue on the desk ledge that prompts you to clean it up before you spot the entity itself.
After you clear the counter or observe the lobby, a pale, wide-mouthed four-legged entity scuttles rapidly across the floor. In the shown run, it ignores open doors, moves past the main 1-5 corridor junction, and navigates toward the back hallway.
Do not trail directly behind it through narrow doorway arches. The creature will quickly crawl up the doorframe and latch itself onto the ceiling panels directly overhead.
Once mounted to the ceiling, the entity shoots a long pink tongue downward to snare your character. Getting grabbed pulls you into the air, inflicts the Spider Venom status effect, and increases your Job Stress while depleting Sanity.
To escape the snare, complete the “STRUGGLE” quick-time event displayed across the center of your screen. A red indicator oscillates back and forth along a meter containing a green success box.
Click the green button when the red marker lines up inside the highlighted zone four consecutive times. Timing all four hits fills the struggle counter to 4/4 and flashes a green “FREED!” message, dropping you safely back onto the floor before the entity flees into the outdoor courtyard.
Checking in Duo Emergencies at Reception
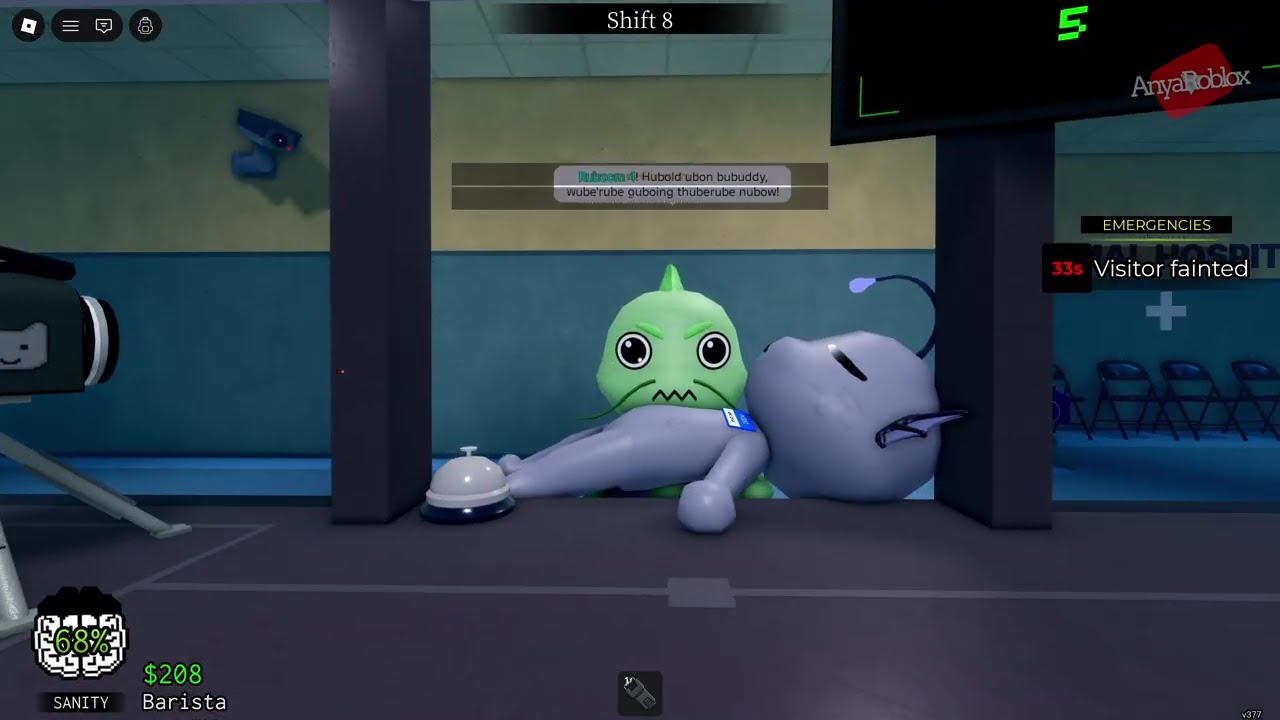
Duo Emergencies occur when a panicked visitor carries an unconscious patient straight to your front intake window. These events trigger a tight emergency countdown timer on the right side of your HUD, giving you under a minute to initiate admission.
Quickly step behind the counter and press the interaction button on the pink clipboard resting on the desk. You must then click the tripod-mounted desk camera to snap a polaroid of the companion visitor.
Ticket printer dispensing the patient registration slip at reception
After capturing the photo, press the interaction key on the desktop computer monitor to finalize data entry. The ticket machine beside the terminal will dispense a printed patient slip, generating an official visitor tag like “Sardina Piwpiw” and assigning an open room.
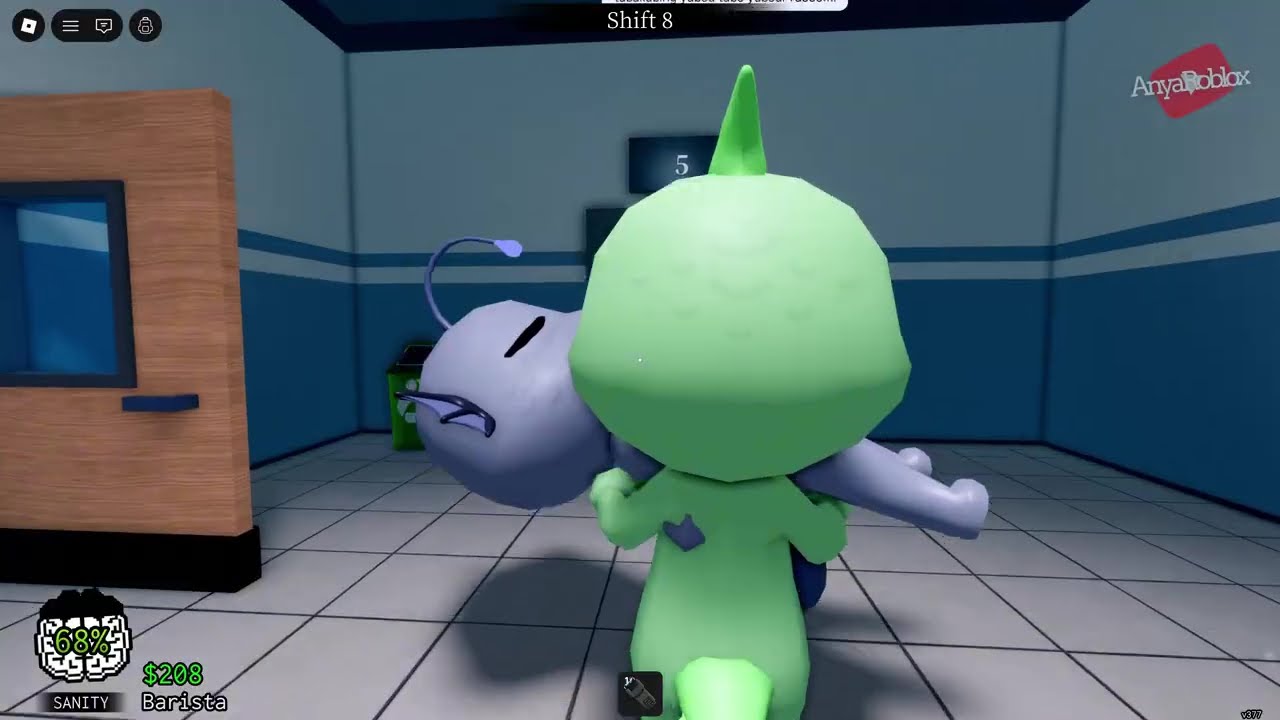
Watch the accompanying visitor as they lift the patient and rush down the corridor. Following closely behind them shows you the exact ward where the patient is placed into bed.
Treating Standard Inpatient Ward Cases
When an emergency pair heads into a standard room like Ward 4, follow them inside to check the wall display mounted directly above the bed. Before applying remedies, turn to the diagnostic terminal on the counter and run the analysis program until the progress bar reaches 100%.
Inpatient bed in Room 4 with required treatment board showing ointment and thermometer
Step out into the central hallway and search the glass-doored red medical cabinets. Collect the exact items pictured on the room monitor, such as the Ointment tube and the red digital Thermometer.
Return to the patient’s bedside and interact with them while holding each required medical tool in your hand. Administering both items fills the green “PATIENT RECOVERING” progress bar, stabilizing the patient and allowing their companion to wait safely.
Keep an eye out for random environmental hazards while making supply runs. If a text banner announces that a fire has started in an adjacent ward, verify that automated suppression clears the room before continuing your rounds.
Completing Emergency Surgeries in Room 8
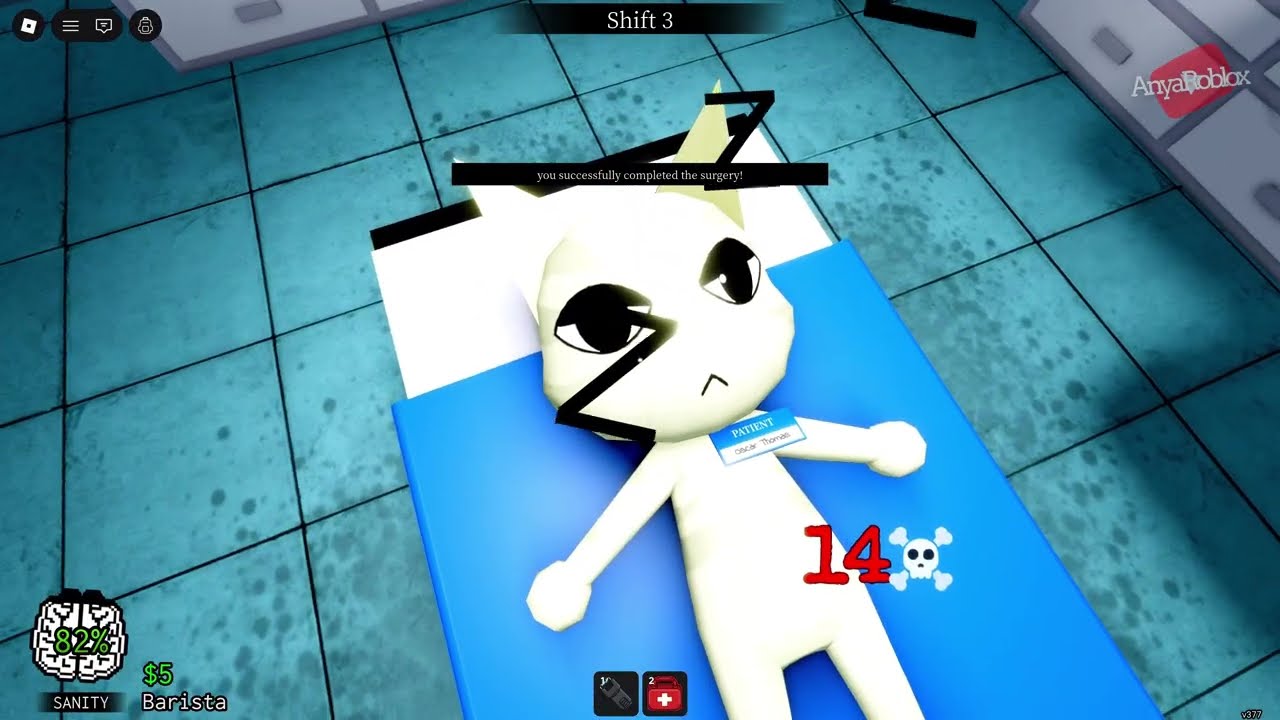
Severe Duo Emergencies require immediate operating room intervention rather than standard bed rest. In Shift 3, a companion carrying a collapsed cat patient rushes through double doors 6–8 into Surgery Room 8 with a critical 56-second timer ticking down.
Follow the companion into the surgery theater and interact with the operating table to select “Sleep Patient.” Look up at the large wall monitor above the surgical supply counter to read the initial required procedure.
Surgery room screen displaying the IV Drops requirement above the supply table
Surgery operations require completing multiple consecutive tool applications in the exact sequence requested by the board:
| Step Number | Requested Tool | Item Appearance & Location |
|---|---|---|
| 1 | IV Drops | Blue hanging fluid bag on the surgical counter |
| 2 | Scissors | Metal surgical shears resting on the left table |
| 3 | Organ | Anatomical red heart on the metal counter tray |
| 4 | Medicine | Green pill bottle positioned beside the scissors |
| 5 | Medkit | Red first-aid box with white cross on the shelf |
| 6 | Triple Combo | Antibiotics (green jar), Bandages, and IV Drops |
Pick up the blue IV Drops from the tray and click the patient to administer fluid. The monitor will immediately switch to “SURGERY: SCISSORS,” requiring you to grab the shears from the left table and apply them to the patient’s torso.
Next, retrieve the red Organ prop from the counter tray to satisfy the heart prompt. Follow this by grabbing the green medicine jar, followed immediately by the red first-aid medkit.
For the final phase, the board requires Antibiotics, Bandages, and a second IV Drops bag simultaneously. Equip and apply the green antibiotics bottle, wrap the patient in bandages, and hang the secondary IV bag before the skull countdown timer hits zero.
Applying the final item triggers the black confirmation banner stating “You successfully completed the surgery!”. The patient’s recovery bar will climb to 100%, allowing the bandaged character to stand up from the operating table and exit the facility safely alongside their companion.
