
Surviving Roblox Closing Shift Phase 1 requires you to explore an abandoned restaurant, collect four exit keys, decipher a four-digit escape code, and evade lethal animatronics. The underground facility hides its objectives across randomized drawers, office cabinets, and dark maintenance corridors.
Success hinges on moving quietly, conserving flashlight power, managing door locks, and obeying strict behavioral rules during scripted animatronic encounters. Before heading up to the surface, you must input the full access code into the base security terminal to summon the elevator.
Roblox Closing Shift Phase 1 Walkthrough and Escape Guide
Phase 1 Quick Reference: Objectives and Key Locations
| Objective / Item | Landmark Location | Practical Interaction |
|---|---|---|
| Service Hatch | Underground Base Entrance | Hold E to turn the wheel until the progress bar reaches 100%. |
| Flash Batteries | Hallway vents and party tables | Pick up glowing cells with E (maximum capacity: 4 batteries). |
| Exit Key 1 | Janitor Closet shelf | Collect to unlock the supply closet. |
| Exit Key 2 | Staff room double metal lockers | Collect to unlock the utility closet. |
| Exit Key 3 | Maintenance room shelving rack | Collect to access service corridors. |
| Exit Key 4 | Restroom sinks / back office desk | Collect to unlock primary dining and stage doors. |
| The Hatchet | Underground Base stairs | Click LMB to swing, chop wooden barricades, and clear blocked passages. |
| Exit Terminal | Base elevator wall | Type the 4-digit code and press Enter to unlock the elevator call button. |
Opening the Bunker Hatch
Your shift begins outside beneath the rain canopy, where a guard named Bill greets you before sending you into the elevator. Once the lift descends into the underground base, you will discover the Puppet resting inside an upright striped music box.
Speak with the Puppet to receive your initial survival warning, then head down the short stairs to the sealed blast door. Step up to the large bronze valve wheel and hold E to fill the “Unsealing” meter from 0% to 100% to gain access to the restaurant proper.
Searching for Exit Keys and Code Digits
Inside the restaurant, your primary mission is to collect four brass exit keys and uncover four individual notes that reveal each digit of the security terminal passcode. Key and digit locations change positions across playthroughs, requiring you to thoroughly search filing cabinets, kitchen counters, and hallway tables.
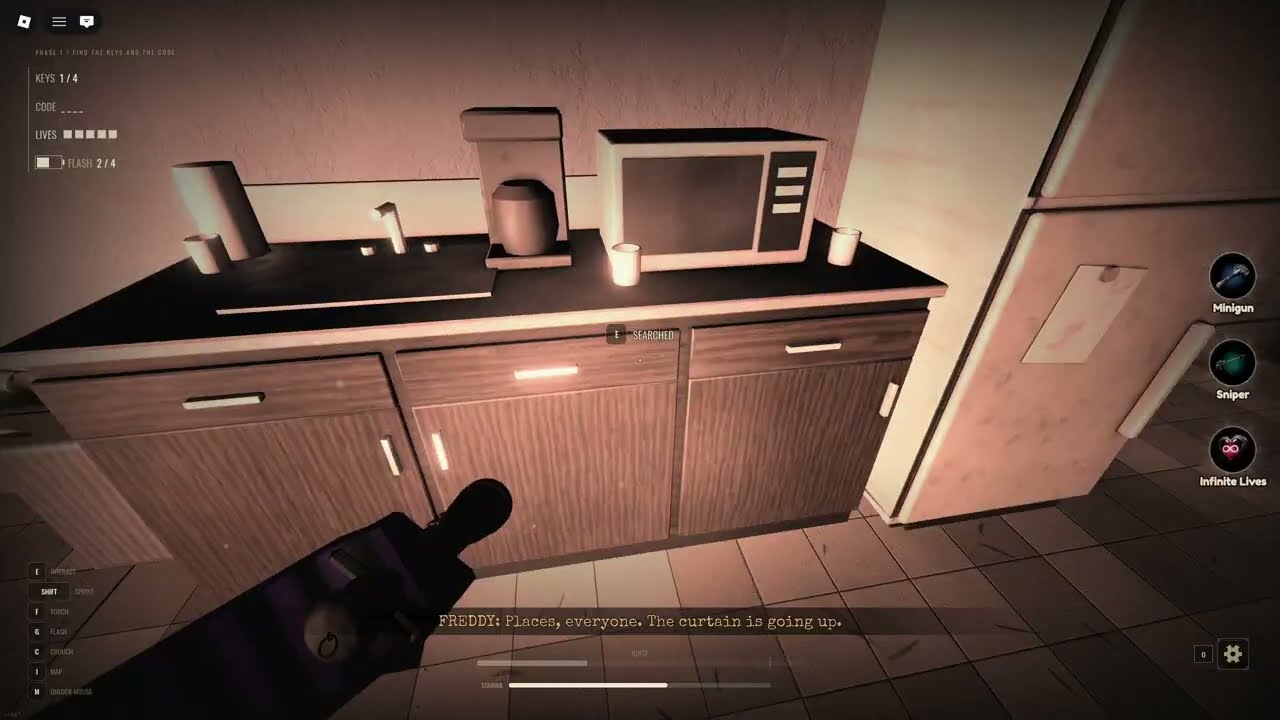
Keep your flashlight turned on only when actively searching dark rooms, and grab spare flash batteries from hallway floor vents and dining room tables whenever you spot them. When opening rooms, keep doors locked behind you using their dedicated interior latch prompts to slow down wandering animatronics.
In the run shown, the notes revealed the code pieces one by one:
- The 2nd digit is 6 (found tucked on a cabinet shelf).
- The 3rd digit is 1 (discovered in a kitchen stove counter).
- The 1st digit is 4 (retrieved from a manager’s office desk).
- The 4th digit was deduced through terminal testing as 0, forming the full sequence 4610.
Animatronic Evasion and Closet Defense
The restaurant is patrolled by aggressive animatronic threats, including Vintage Freddy, Vintage Bonnie, Chica, and the ceiling-crawling Amalgamation. Sound is your biggest vulnerability; running across checkered tiles or knocking over metal cookware instantly draws nearby hostiles toward your location.
Vintage Freddy attempting to pull open a closet door during a struggle minigame
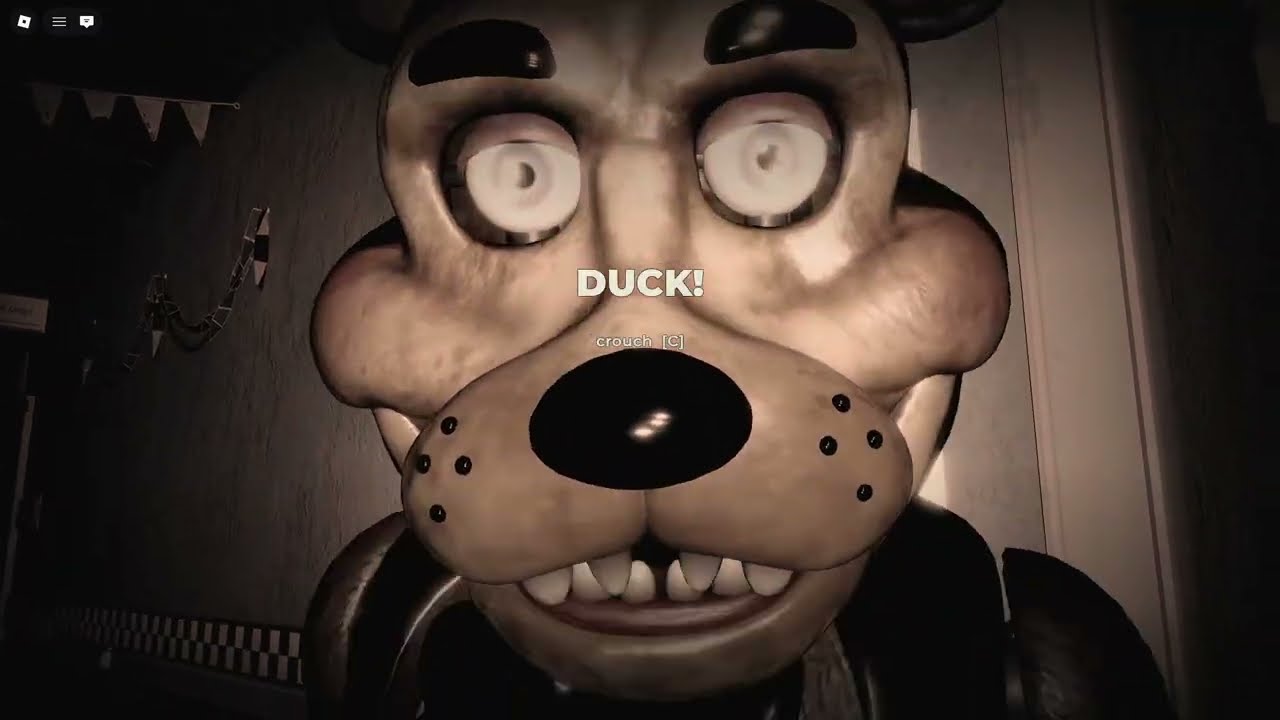
If Freddy tracks you to a closet, he will grab the exterior slats and attempt to pry them loose. A “Hold The Door” meter will appear on screen: hold Space firmly while he pulls, and instantly release the key between his pulls to keep the door shut.
When hiding from Chica in hallway lockers, she will occasionally initiate a quick-time dialogue asking, “Want a slice? It’s fresh!” Choosing the dialogue option “Yes! I’m so hungry!” satisfies her request, unlocks the Silver Tongue badge, and prompts her to wander back toward the kitchen without harming you.
Surviving the Mandatory Birthday Party Event
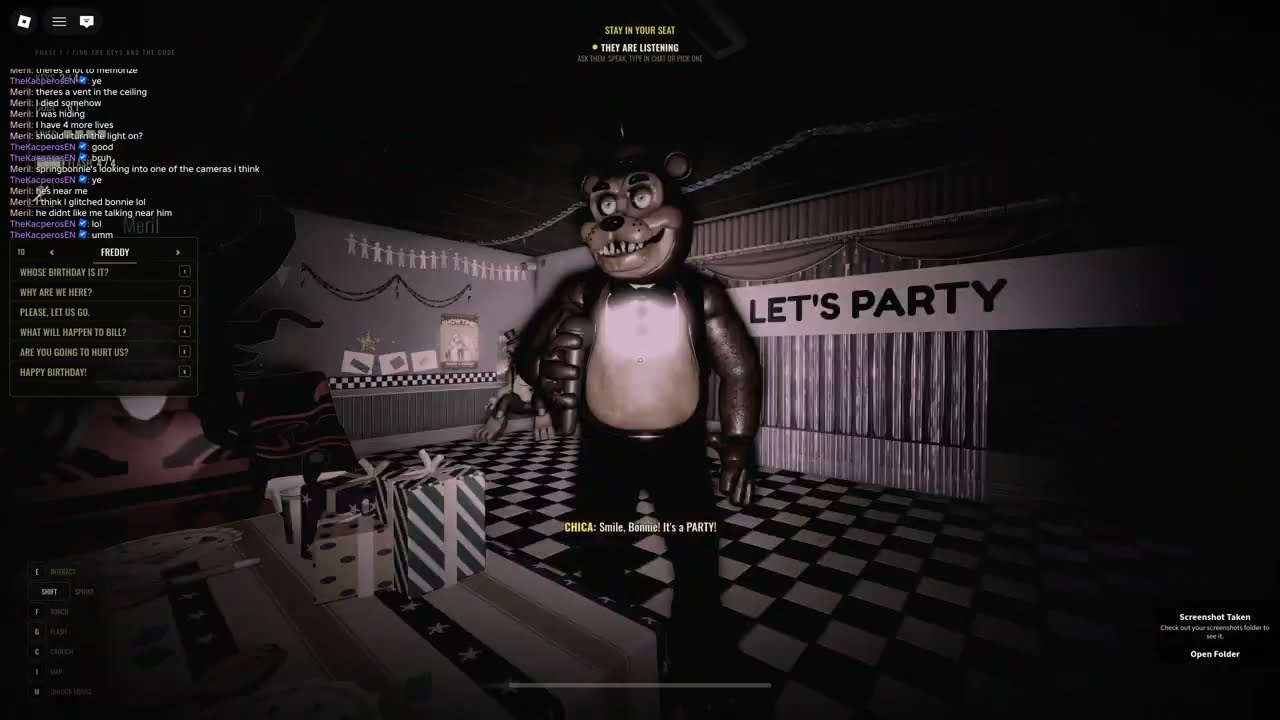
Midway through the shift, the Puppet commands you to stay seated as the animatronics trigger a compulsory party sequence inside the main dining hall. The central rule of this sequence is complete obedience: do not type in chat, do not select optional dialogue prompts, and look away immediately when instructed.
During the song, Freddy drags Bill into the center of the room and forces him into a Spring Bonnie suit. When the red warning prompt reads “DON’T LOOK AT IT / SILENCE”, pivot your camera completely away from the stage and stare at the wall until Freddy announces that the party has ended.
Arming Yourself with the Hatchet
Following the party sequence, return to the underground base staircase to collect the Hatchet resting against the banister. This tool provides a reliable melee swing that allows you to break through wooden room barricades and defend yourself if cornered in narrow corridors.
The Hatchet equipped in first-person view at the underground base entrance
Equip the hatchet using your inventory hotbar and use left-click swings to chop down barricaded doorways leading into the Play Room, Employee Break Room, and Manager’s Office. Keep moving steadily through rooms, as staying stationary in open areas makes you an easy target for Bonnie’s ceiling ambushes.
Entering the Code and Calling the Elevator
Once you have secured all four keys and identified your passcode digits, descend back to the base elevator lobby. Approach the large digital keypad mounted to the left of the elevator doors and type your discovered sequence.
The security terminal keypad accepting the final four-digit exit code
Submitting the correct code causes the overhead lock bolts to retract and illuminates the red elevator call button on the adjacent wall. Press the call button, step inside the open elevator compartment, and wait for the doors to seal before the closing cutscene concludes your shift.
