
Roguefort is a classic-style dungeon crawler where you build up a character, accept local quests, and clear dangerous monster lairs. Its charm comes from how fast-paced combat blends with open progression systems. Setting out on your journey can feel slightly disorienting once you spawn outside town.
Starting with a solid roguefort dungeon guide makes your early hours smooth instead of confusing. Picking Grasse-Verdenne gets you going quickly, while talking to tutor NPCs gives you quick early levels. Finding the nearest dungeon entrance on your map is easy, but managing healing items before the final chamber requires preparation.
Here you will learn how to handle character creation, find the village tutors, and conquer your first dungeon run. The steps apply directly to keyboard and mouse controls on version 0.32.6, though gamepad users can easily follow along.
I’ll be walking through this using standard PC keyboard and mouse controls. If you’re on a controller, the inputs will naturally be mapped a bit differently.
Character Creation

Pick your starting culture right off the bat. Grasse-Verdenne is a solid pick to kick things off. Don’t stress the choice too hard, though, as you can join other traditions down the line anyway.
First Steps: Meeting the Tutors
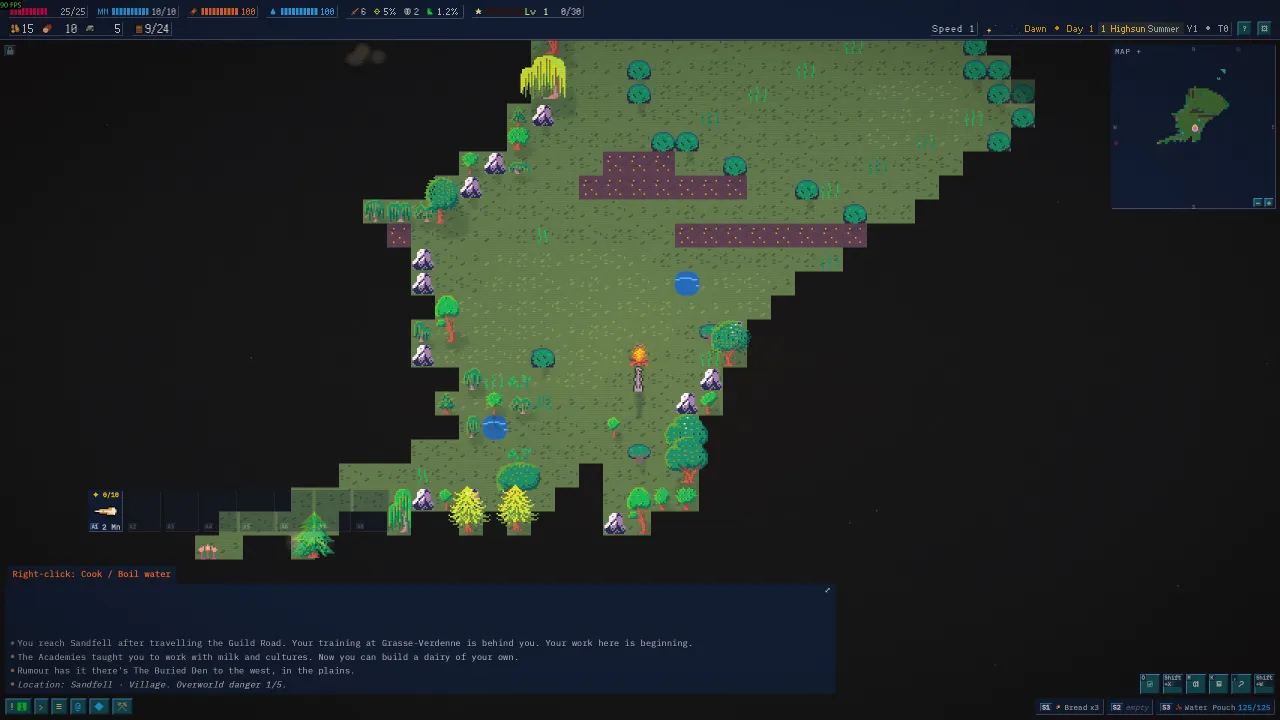
Once you drop into the world, head straight into the village and look for the tutor NPCs. Their quick quests hand out easy early levels and do a great job walking you through the ropes.
I won’t hold your hand through every single questline here. I’m just getting you pointed in the right direction so you can track them down yourself.
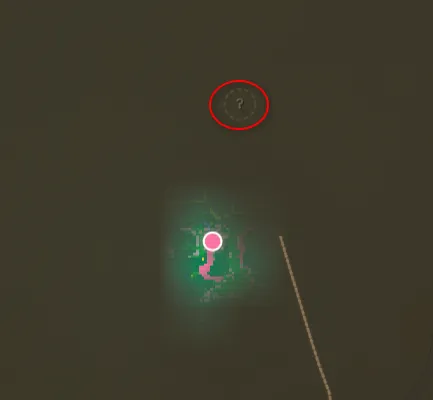
Hit M to pull up your world map.
Look for a circled question mark icon. Click right on it and pick “Travel here” to let your character auto-walk the quick trip over.
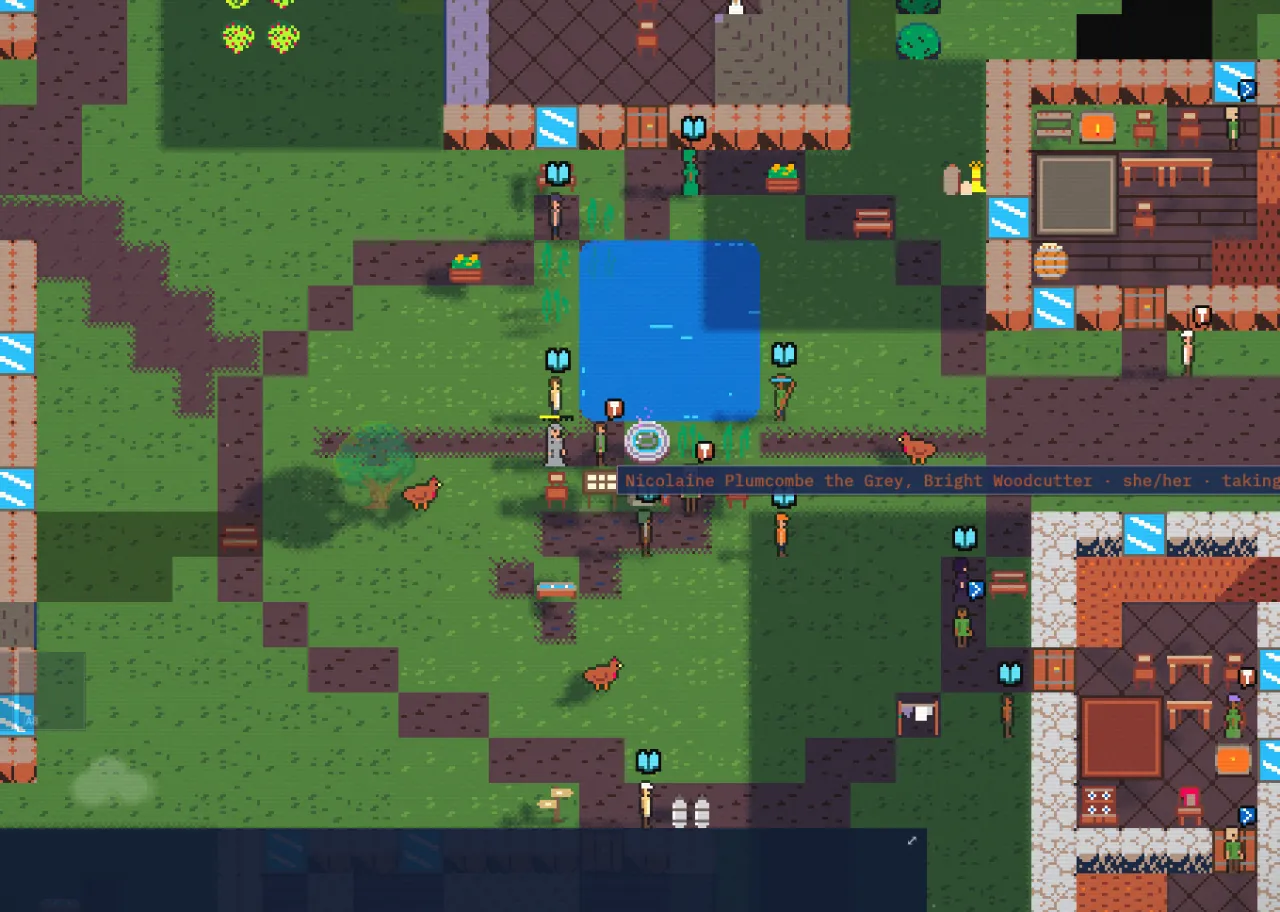
Once you make it into your starter town, look for NPCs with little book icons floating over their heads. Chat with them and tackle their tasks to get your bearings. If you ever lose track of what you need to do, just tap L to bring up your Quest Log.
Leaving the Village
A quick heads-up if you’re new to the genre: you cannot just steamroll everything you stumble across out in the wild right away. Tougher beasts like bears will flatten you in seconds early on.
There’s zero shame in sprinting away when things look bad. Live to fight another day.
Stick to the dirt tracks whenever you can, because roads are your best friend out here. Town guards regularly patrol them and will gladly hack up dangerous beasts for you. You also run noticeably quicker on paths, making it a complete no-brainer.
Tracking Down Your First Dungeon
After grabbing a few quick levels, you should be ready to test your mettle in an actual dungeon run.

You probably caught a pop-up notice while running errands around town. That ping means you overheard a rumor about a nearby point of interest or underground lair. Pop open your map with M to check it out.
Sure enough, you’ve got a fresh dungeon marked on your map.
Head straight toward that rumor marker. You can stroll over manually or just hit “Travel here” to auto-walk, exactly like you did back at the start.
Try to make the journey strictly by day. Traveling in the dark out in the open is asking for trouble.

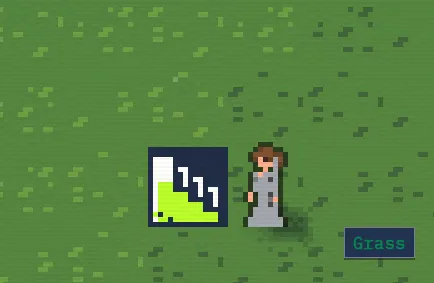
This is the entrance structure you’re keeping an eye out for.
Going in
It’s smart practice to drop a campfire right outside the opening before heading below. That gives you an easy fallback spot to catch your breath and regen HP and mana. Just keep an eye on the sun, because being stuck outdoors when night falls gets ugly fast.
Before you take that plunge into the dark depths, double-check your pack for rations and fresh water. Going into a crawl hungry or parched is a recipe for disaster.
When you are all geared up and ready, step right into the dungeon.
Inside the Dungeon
Take things slow down here. Careless moves will get you killed fast.
Fight enemies one at a time. Bottleneck them in narrow hallways and doorways so you never get surrounded.
Examine every new monster. Hit X whenever you spot a fresh face to inspect its weaknesses and damage resistances.
Break line of sight on ranged foes. Back up through a doorway and wait just around the corner. They will usually wander right into melee range, giving you a free hit.
Save your Cheddar Shot. Don’t spam it mindlessly; soften up tougher targets with a single blast, then finish them off with your weapon. You can fire it off via your spell belt hotbar or by hitting Alt + 1.
Death happens. If you’re on Wayfarer mode, don’t sweat dying too much since you’ll just pop back up outside. Playing on permadeath is another story, so play it safe and keep your distance.
Healing
You have probably looted some healing cheese by now. Hit I to open your pack, but keep in mind eating takes a full turn, so heal up before you’re sitting at critical health.
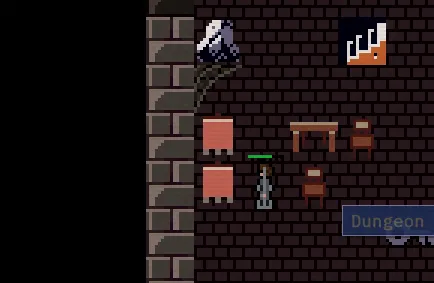
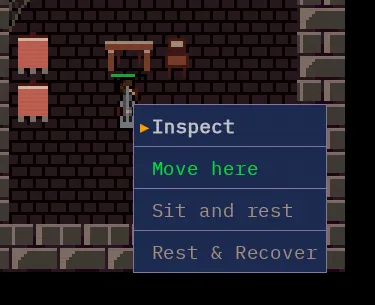
Keep an eye out for chairs scattered across dungeon floors. Take a seat whenever you see one, because resting restores your health and refills your manna completely free of charge.
The Boss
The bottom floor holds the dungeon boss. Try to wipe out any stray minions beforehand so you can focus entirely on staying mobile and keeping your range.
Never hesitate to run away if your health dips into the red. You can retreat all the way to the first floor, patch yourself up, and return, since bosses almost never regenerate their lost health while you’re away.
Clearing the Dungeon
Once the boss drops, you’re free to head back outside. You don’t have to hunt down every last survivor to finish the run, though sticking around to clear them out is great for grabbing extra experience.
Nice work! You are officially an active monster hunter.
From here on out, it’s all about repetition and steadily building up your strength.
Credits
Final Thoughts
Grab your gear, finish those tutor quests for quick levels, and make sure to stock up on healing before you challenge the final chamber. If your interface looks slightly different after an update, press M to check the map for nearby landmarks.
Based on the original Steam guide by Naikhou: view on Steam.