
Surviving the trial and making a clean exit requires methodically exploring the park grounds in this SAURUS HORROR walkthrough. Your main objective is to track down six industrial fuses scattered across a pitch-black forest reserve and deliver them to a central generator station while evading a predatory dinosaur.
You begin equipped only with a handheld flashlight and must watch out for hidden bear traps, dark paths, and hunting beasts sensitive to movement. Once you feed all six fuses into the yellow generator, the primary perimeter gate unlocks so you can run to freedom.
SAURUS HORROR Walkthrough: Escape the Enclosure
Entering the enclosure triggers an opening briefing from the Announcer, who warns you that six fuses power the exit systems and that the center building houses both the generator and two fuses. Staying alive requires managing sound, avoiding ground hazards, and keeping track of your route back to the central compound.
| Enclosure Element | Type | Location / Appearance | Core Function |
|---|---|---|---|
| Yellow Generator | Power Unit | Center Building back room | Requires six fuses; restores power to the blast gate |
| Workstation Tables | Item Point | Scattered clearings; lit by open laptops | Hold black cases containing collectible fuses |
| Bear Traps | Hazard | Open grass and dark trail corners | Clamps your feet and slows movement upon contact |
| Scent Mounds | Stealth Utility | Muddy dung heaps along ridgelines | Provides temporary camouflage against the dinosaur |
| Perimeter Gate | Exit Gate | Boundary wall down the main dirt road | Opens automatically once generator reaches 100% |
Collecting the Starting Fuses
You awaken inside a metal scaffolding tower where the door swings open into the enclosure grounds. Your objective tracker in the top-right corner displays FUSES FOUND: 0/6 along with the instruction FIND CENTRE BUILDING.
Step directly through the open gate of the spawn cage onto the grass. Right in front of you sits a white folding table containing an open laptop and a black equipment case.
Approach the case and press E on the Fuse prompt to grab Fuse #1. This immediate pickup awards completion points for securing a fuse within the first five minutes.
Turn toward the tall red beacon glowing above the tree line in the near distance. Follow the dirt road straight ahead toward the large concrete facility known as the Center Building.
Walk up the ramp, pass through the security door, and enter the main interior corridor. Head into the rear machinery room where the large yellow generator unit stands against the wall.
Pick up Fuse #2 from the folding table set directly in front of the machine. Turn to the generator panel on the left, which shows a six-socket receiver and a red indicator bar reading FUSE: 0%.
Press E on the INSERT prompt twice to install both fuses into the lower sockets. The progress meter increases to FUSE: 33% and turns two segments green, updating your objective counter to FUSES FOUND: 2/6.
Evading the Enclosure Predator
Leaving the generator room alerts the hunting dinosaur patrolling the surrounding zone. Your character speaks the warning line “I’m being too loud” whenever nearby footsteps create excessive noise.
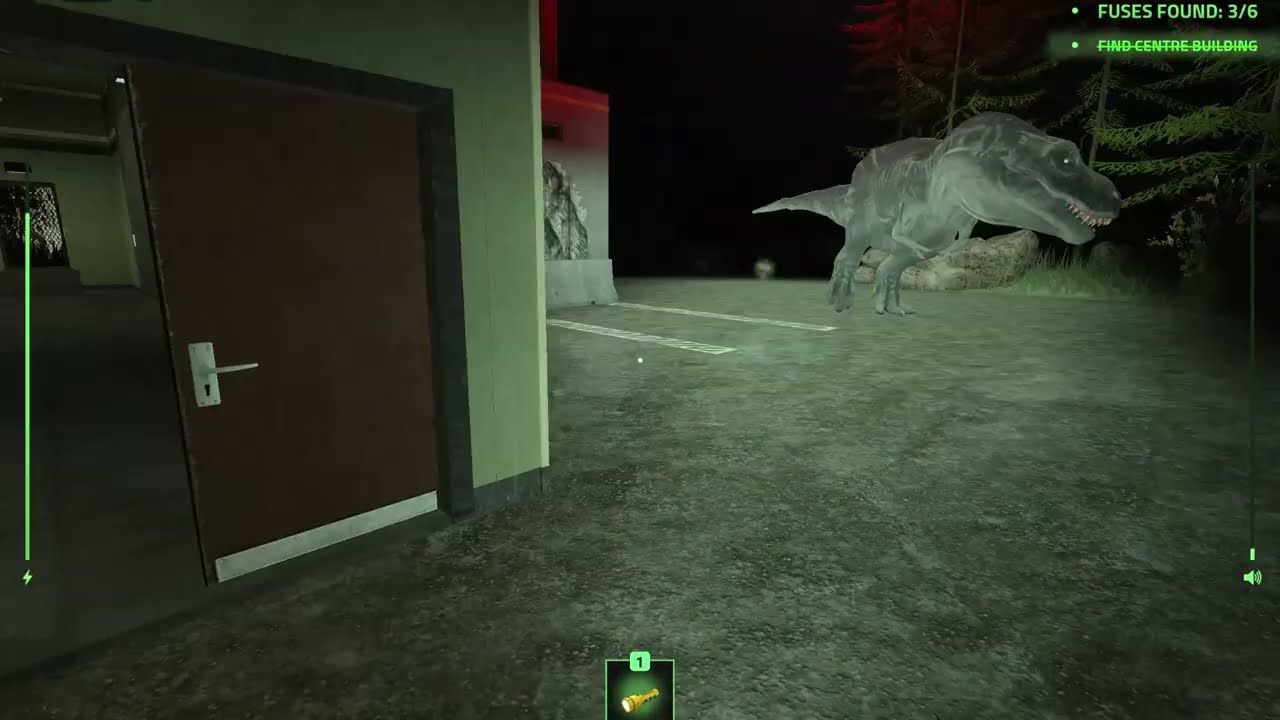
View from inside the facility doorway as a pale dinosaur stalks past the exterior entrance
Stand still inside the doorway when heavy stomping echoes outside. A pale predatory dinosaur stalks across the entrance path and will strike if you step outside into its direct field of view.
Wait until the creature walks behind the exterior fencing before stepping into the open yard. Sticking near interior doorways gives you a reliable shelter, as the dinosaur cannot pass through standard building entries.
Always keep your flashlight aimed toward the ground when running across open clearings. Spring-loaded bear traps rest in patches of grass and will spring shut if stepped on, leaving you exposed to nearby predators.
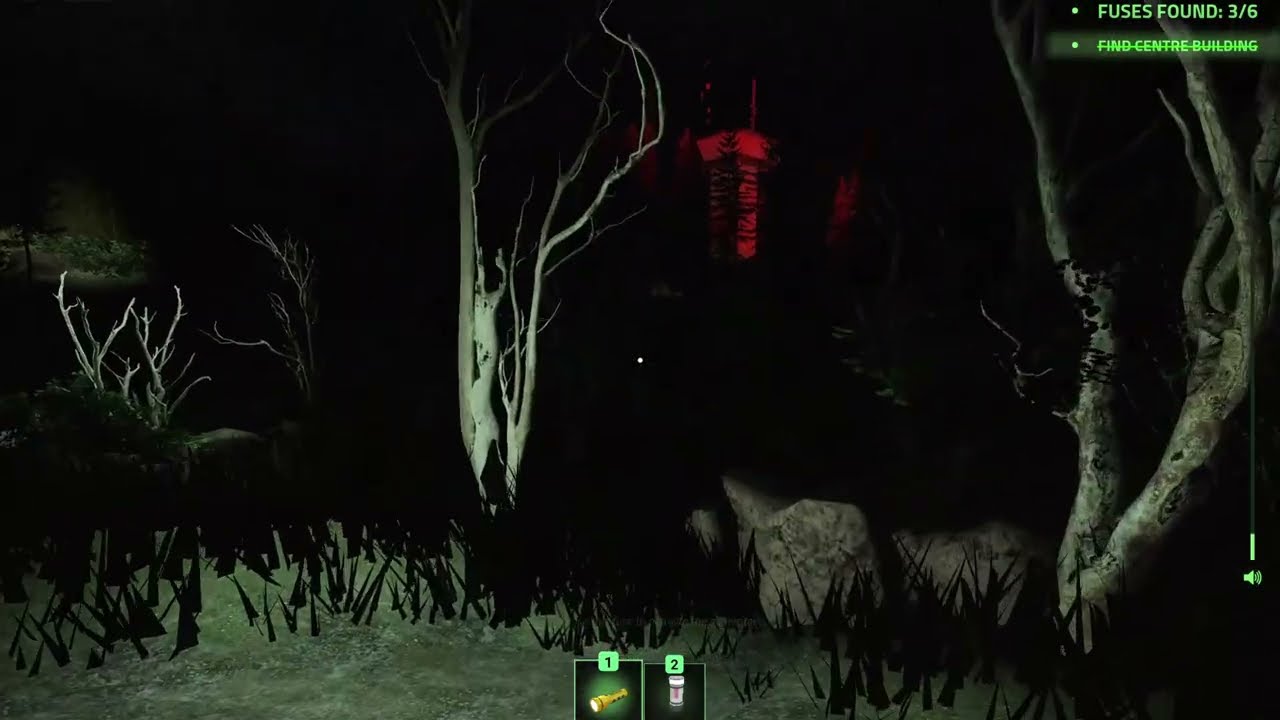
Mud and dung mound on the forest floor with an interaction prompt to mask scent
Watch for mounds of dark animal waste scattered near ridgelines and thickets. Approaching one triggers an [E] Mask scent prompt, which covers your character and temporarily prevents the beast from tracking your odor.
Parked white utility jeeps sit beside several major path intersections. Use these vehicles as fixed landmarks so you can find your way back to the illuminated beacon tower without getting lost.
Finding the Outer Fuses
Exit through the facility’s side fence gate and head out into the darker perimeter trails. Look for the faint white glow of laptop screens, which mark the remaining supply workstations.
Follow the dirt trail curving around the rock walls until you spot a table resting near dense pine brush. Press E to collect Fuse #3 from the open carrying case.
Continue along the winding tracks past the abandoned jeeps while monitoring predator roars. You can carry multiple fuses at once in your second hotbar slot, which displays a stack counter as you gather more.
Cross the valley clearing toward a lit desk sitting under bare, dead trees. Press E on the case to pick up Fuse #4, then sweep the adjacent ridgeline paths to locate the next setup holding Fuse #5.
With two additional units in your inventory, return to the Center Building by heading toward the red floodlights atop the tower. Enter the generator room and interact with the panel to deposit both pieces, bringing the power gauge up to FUSE: 83%.
Head back out into the woods one last time along the lower dirt road to locate the sixth workstation. Open the hard case on the folding table, collect Fuse #6, and turn back toward the central complex.
Restoring Power and Escaping
The dinosaur frequently circles the perimeter of the Center Building during the final stretch of the trial. Stay crouched along the exterior chainlink fencing until the beast turns its back, then slip inside through the double doors.
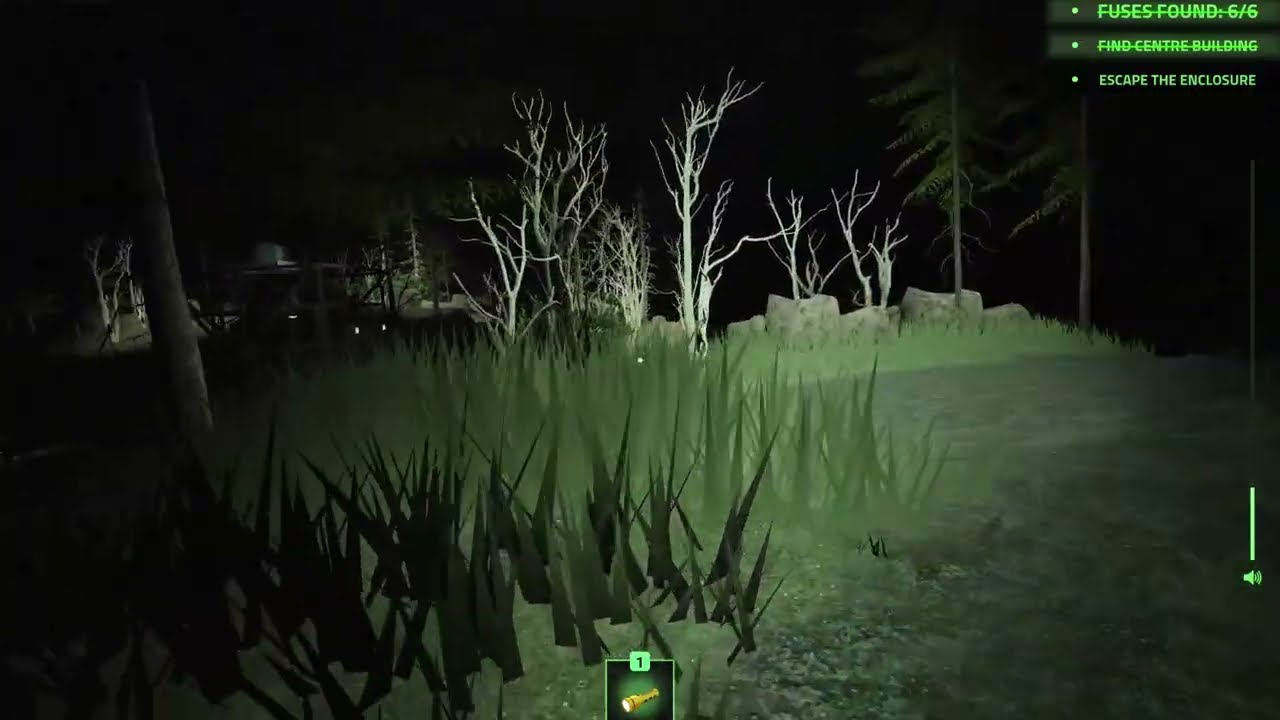
Yellow generator showing a completed green meter and 100 percent fuse status
Insert the final fuse into the sixth socket on the yellow generator. The interface flashes green with FUSE: 100%, granting the Power Restored badge and setting your on-screen objective to ESCAPE THE ENCLOSURE.
Your character notes that the power is back on and you must locate the gate. Exit the control room, head through the facility’s front entrance, and step onto the central dirt trail.
Sprint down the main roadway toward the outer concrete containment wall. The towering steel blast door has lifted, casting bright green marker lights over the open exit route.
Cross the threshold of the open gate into the dark tunnel beyond to conclude the trial. Surviving the escape without dying unlocks the Escape Artist and The End? badges alongside your final performance score.
