
This Roblox guides you through surviving the giant spider, gathering all necessary escape tools, and blowing open the blast gate to flee the facility. To win the match, you must track down four sticks of dynamite, locate the Detonator Room key, read the four-digit launch code, and trigger the explosion from the control console.
The creature navigates the ceilings and responds instantly to sound whenever you drop items or open furniture while it lurks nearby. You have only two lives before facing a permanent game over, making silent searching and vent usage essential to your survival.
Roblox HUNTRESS Full Walkthrough Guide – Room Key, Codes
The introductory note outlines the exact objectives needed to clear the map before you leave the starting corridor. Memorizing the core alert mechanics will save you from being ambushed early in your run.
| Requirement | Function | Target Location |
|---|---|---|
| 4 Dynamite Sticks | Arms the blast gate charges | Drawers and wardrobes across both floors |
| Detonator Room Key | Unlocks the padlock on the control room | Randomly dropped along floor hallways |
| 4-Digit Code | Authorizes console firing | Yellow sticky note on wardrobe doors |
| Ventilation Ducts | Evades spider detection | Wall vents placed in main corridors |
Understanding Spider Behavior and Hiding Spots
Fluorescent ceiling lights flicker erratically whenever the spider moves onto your floor and draws near. You cannot outrun the spider in open corridors, so crouch directly into the low metal wall ducts whenever lights blink.
Opening drawers or closets while the spider is within hearing range causes it to charge straight toward your position. Stay motionless inside the vents until the footsteps fade before resuming your search.
Searching for Dynamite and the Sticky Note Code
Search every wardrobe, nightstand, and drawer across both the gray-tiled basement corridors and the upper red-walled mansion floor. Look closely inside two-door closets, as dynamite sticks frequently sit on the middle shelves.

Red bundle of dynamite resting on an upper floor wardrobe shelf
You can only carry one explosive bundle at a time in your hands. Drop gathered dynamite sticks at the central red staircase so you can quickly ferry them downstairs without losing your bearings.
Inspect the exterior doors of upper-floor wardrobes until you locate a bright yellow sticky note. The four-digit code changes between playthroughs, showing 4639 in this run; type your displayed digits into chat to keep them handy.
Finding the Detonator Room Key
Continue scouring the lower corridors if you haven’t spotted the metal key yet. In the shown run, the key spawned directly on the tiled hallway floor between two turns.
Small metal key resting on the gray tiled corridor floor
Walk over the key to place it in your inventory, then head back toward the central hall near the red staircase. Locate the door marked with the yellow “DETONATOR ROOM” sign right beside the stairs.
Look at the blue padlock hanging from the door latch and hold your interact prompt until the lock clicks open. Step inside to reveal the heavy detonator console mounted on the interior wall.
Loading the Blast Gate Charges
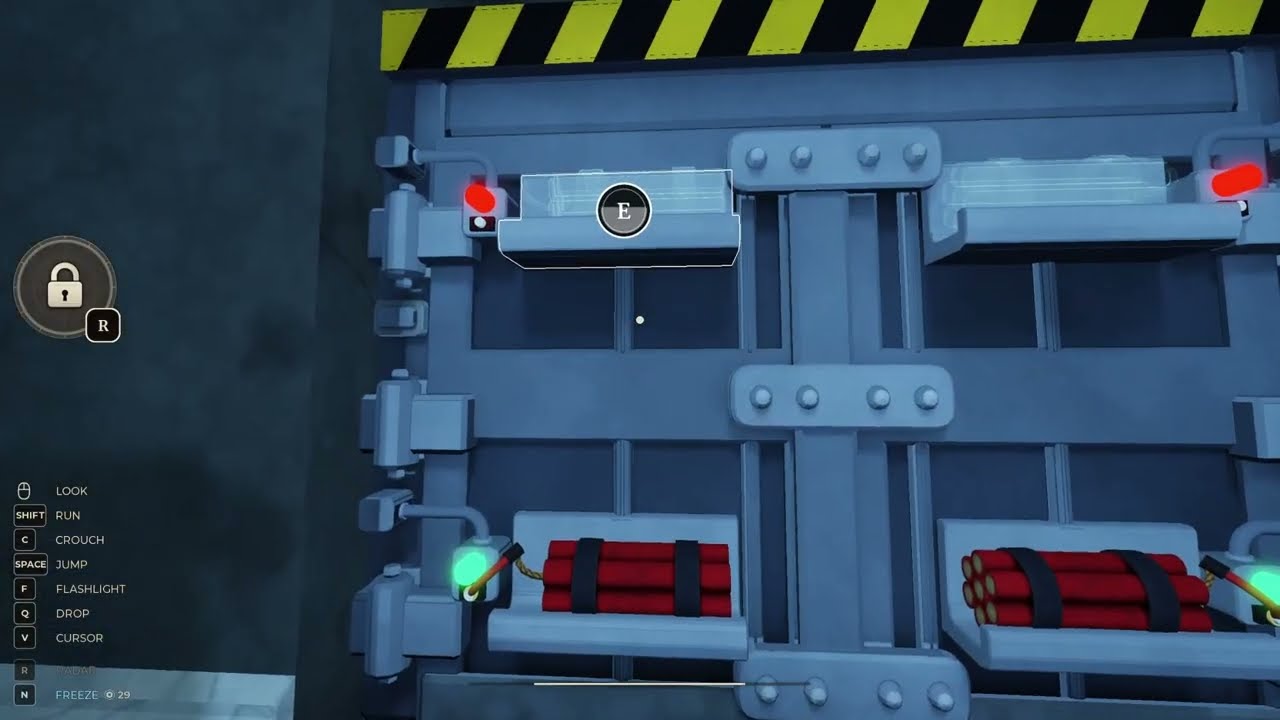
Return to the starting area where the reinforced steel blast gate is installed. Interact with each empty horizontal tray on the gate frame to slot in your collected dynamite sticks.
Each inserted stick triggers a mechanical arming sequence marked by an illuminated indicator light. Repeat this process until all four dynamite charges are securely fitted into the steel barrier.
Entering the Detonator Code and Escaping
Step inside the Detonator Room and confirm that all four charge indicators on the panel glow green. Press the numerical buttons on the panel keypad to enter your four-digit sticky note code, then hit Enter.
Detonator control console displaying Code Accepted with illuminated green fire button
The screen will switch to read “CODE ACCEPTED READY TO FIRE” as the large circular button turns bright green. Press the button to trigger the detonation, instantly blowing the security gate apart into smoking rubble.
Sprint straight through the destroyed doorway and follow the exterior stone path into the illuminated forest. Reaching the clearing displays your completion time and officially clears Chapter 1.